Feature Overview
Here is a short list of some of the features currently in Monokle Desktop.
A big thanks to the excellent Argo-Rollouts project on GitHub for providing plentiful manifests for us to run Monokle Desktop against.
Navigate K8s Objects Easily
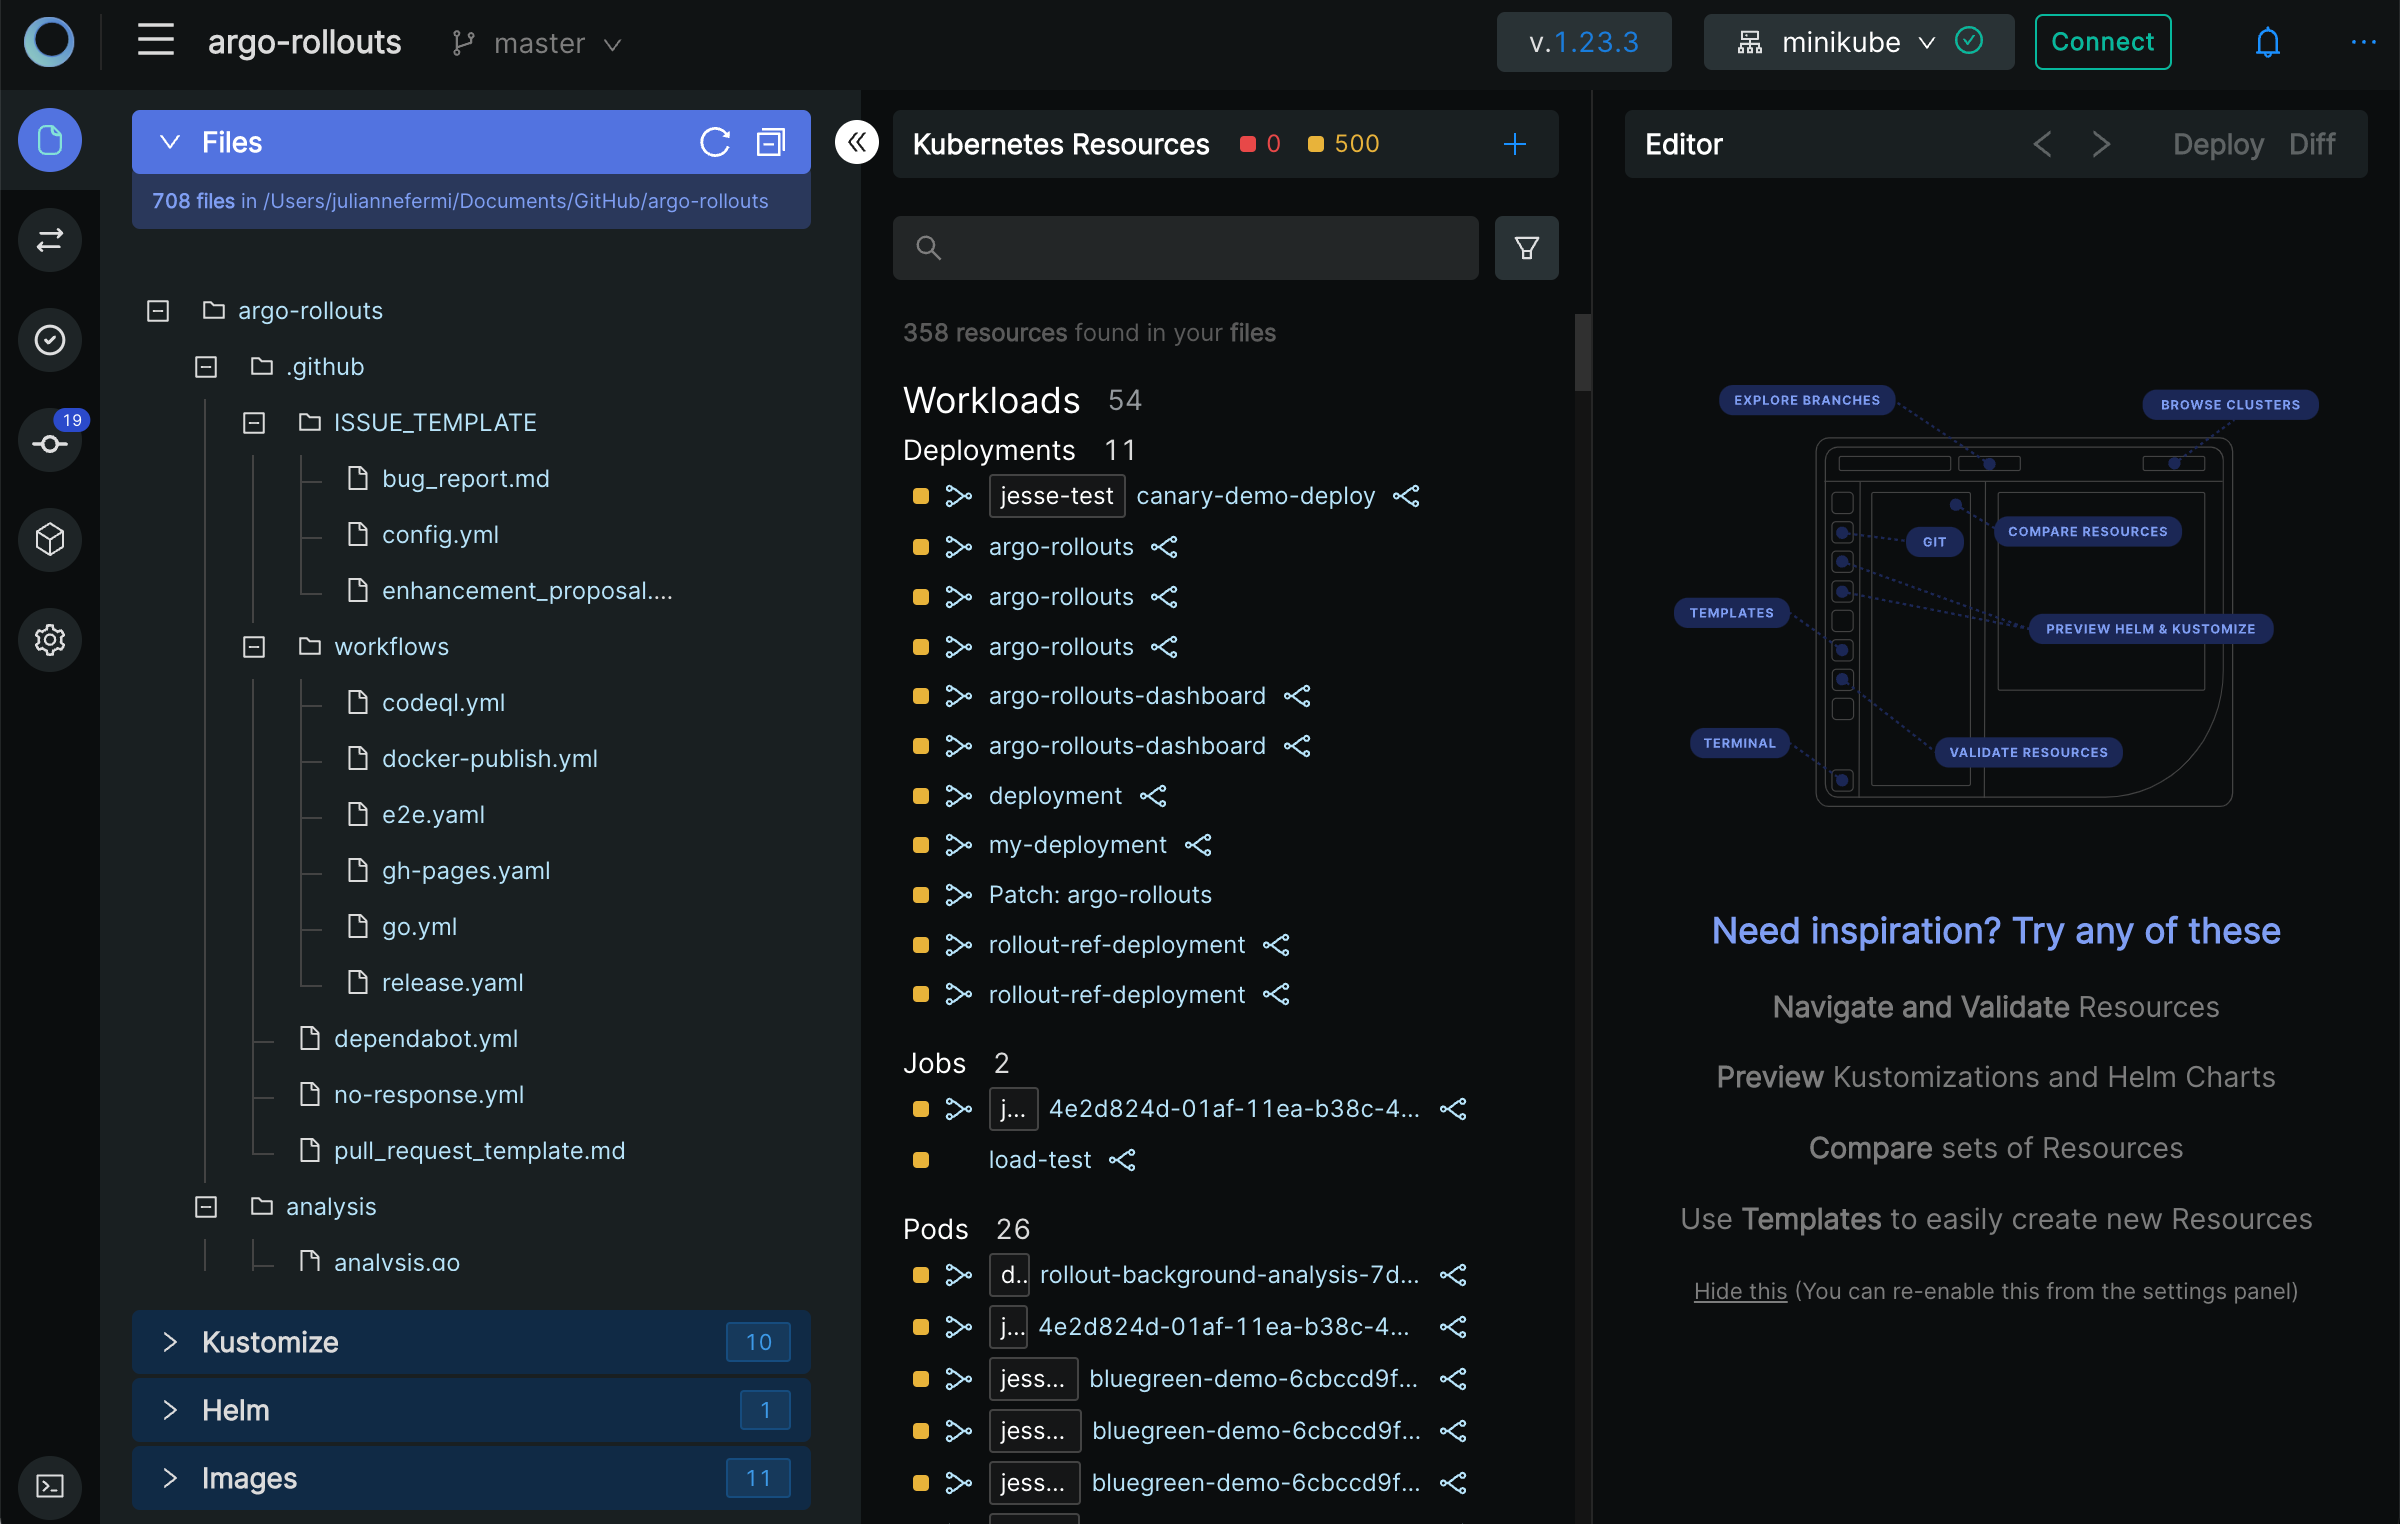
Monokle Desktop compiles a list of all the objects in your repo (from files you didn't want ignored), to give you a handy overview of all your resources - read more here.
Validate and Follow Links Up- or Downstream through your Manifests
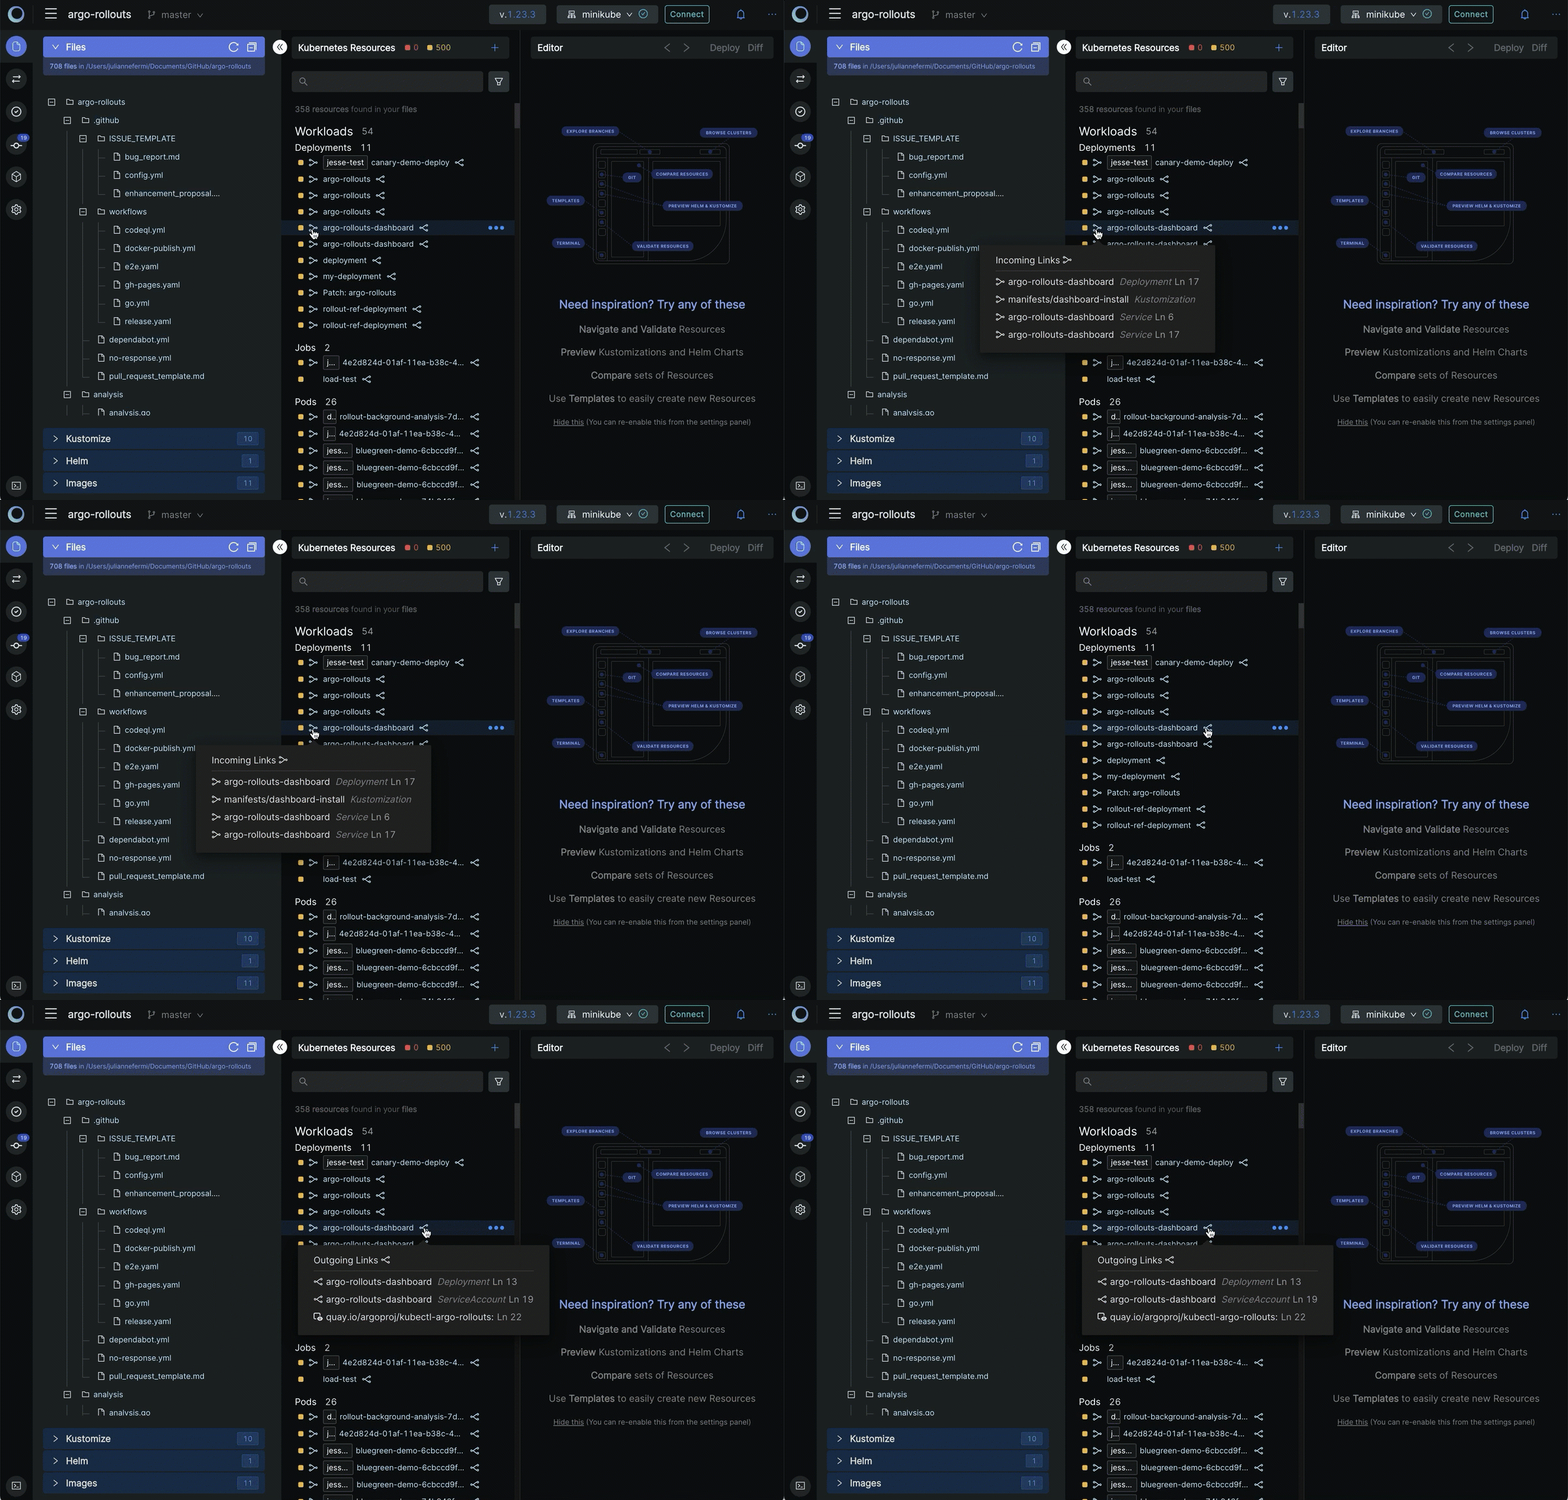
Surf upstream or downstream through your resources! Monokle Desktop highlights other resources that your selection has direct relations to and even provides you with the links to go to them quickly - read more here.
Preview Resources Generated by Kustomize and Helm
To preview the resources created by Kustomize or Helm, open the corresponding pane at the bottom of the first column.
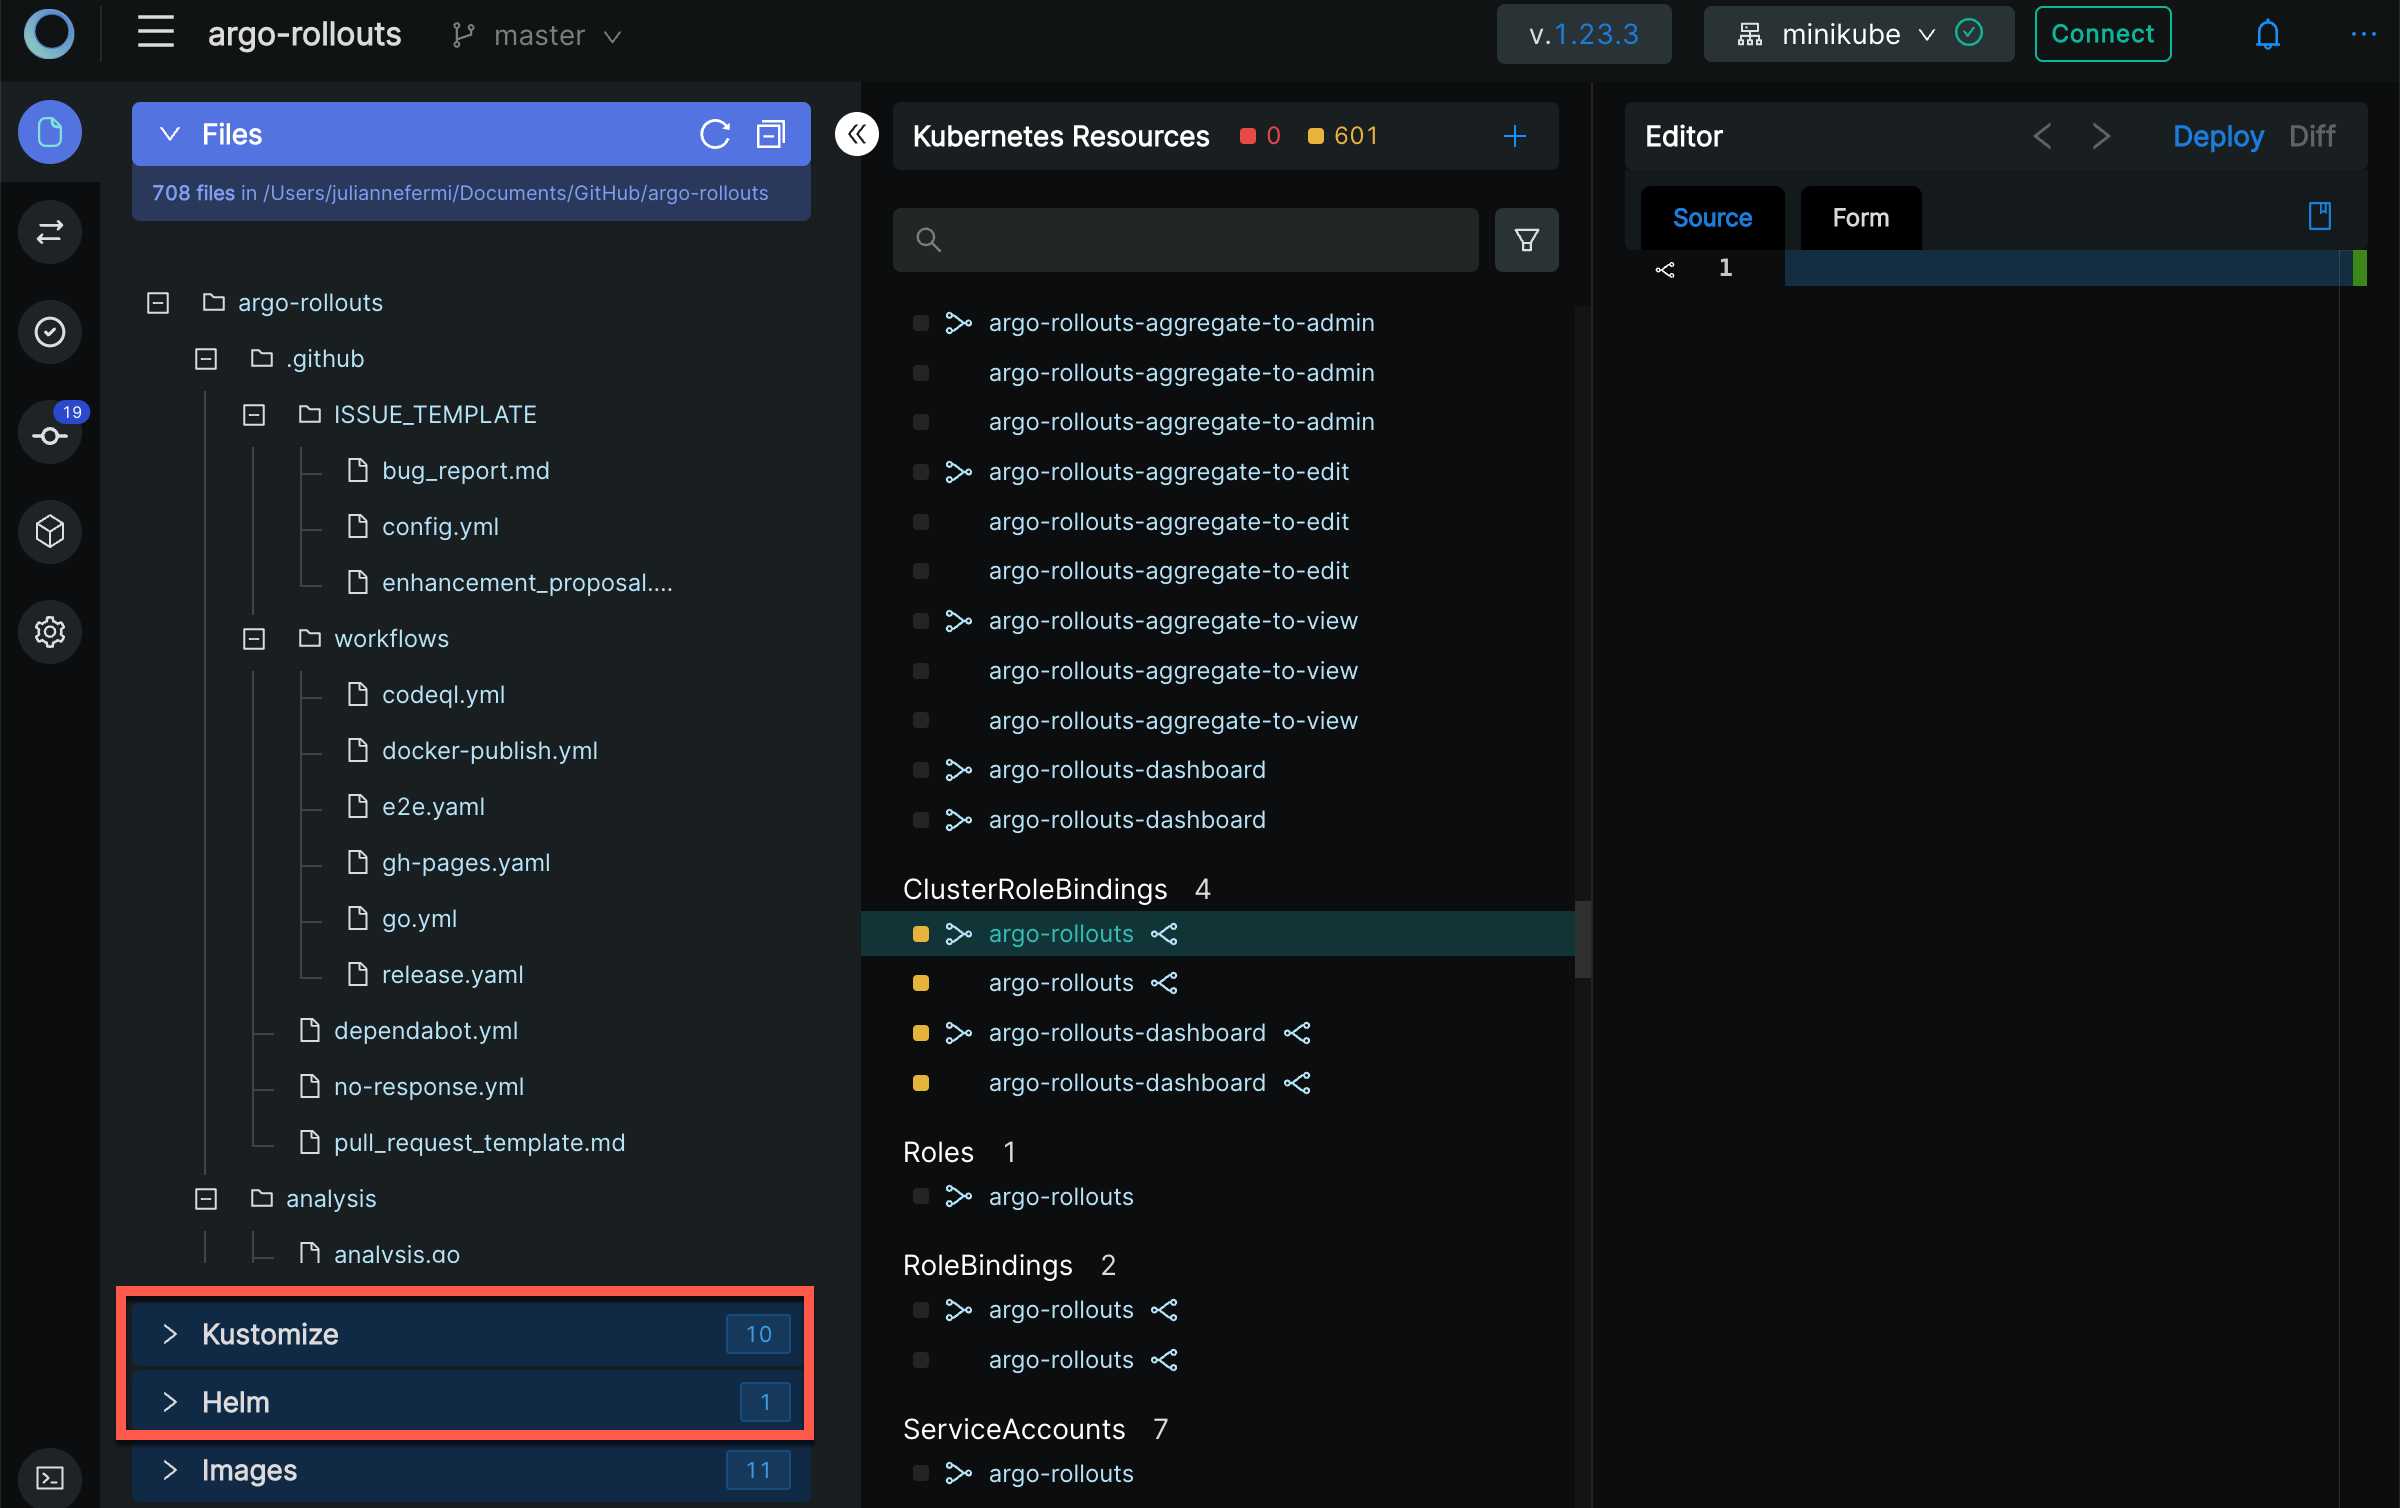
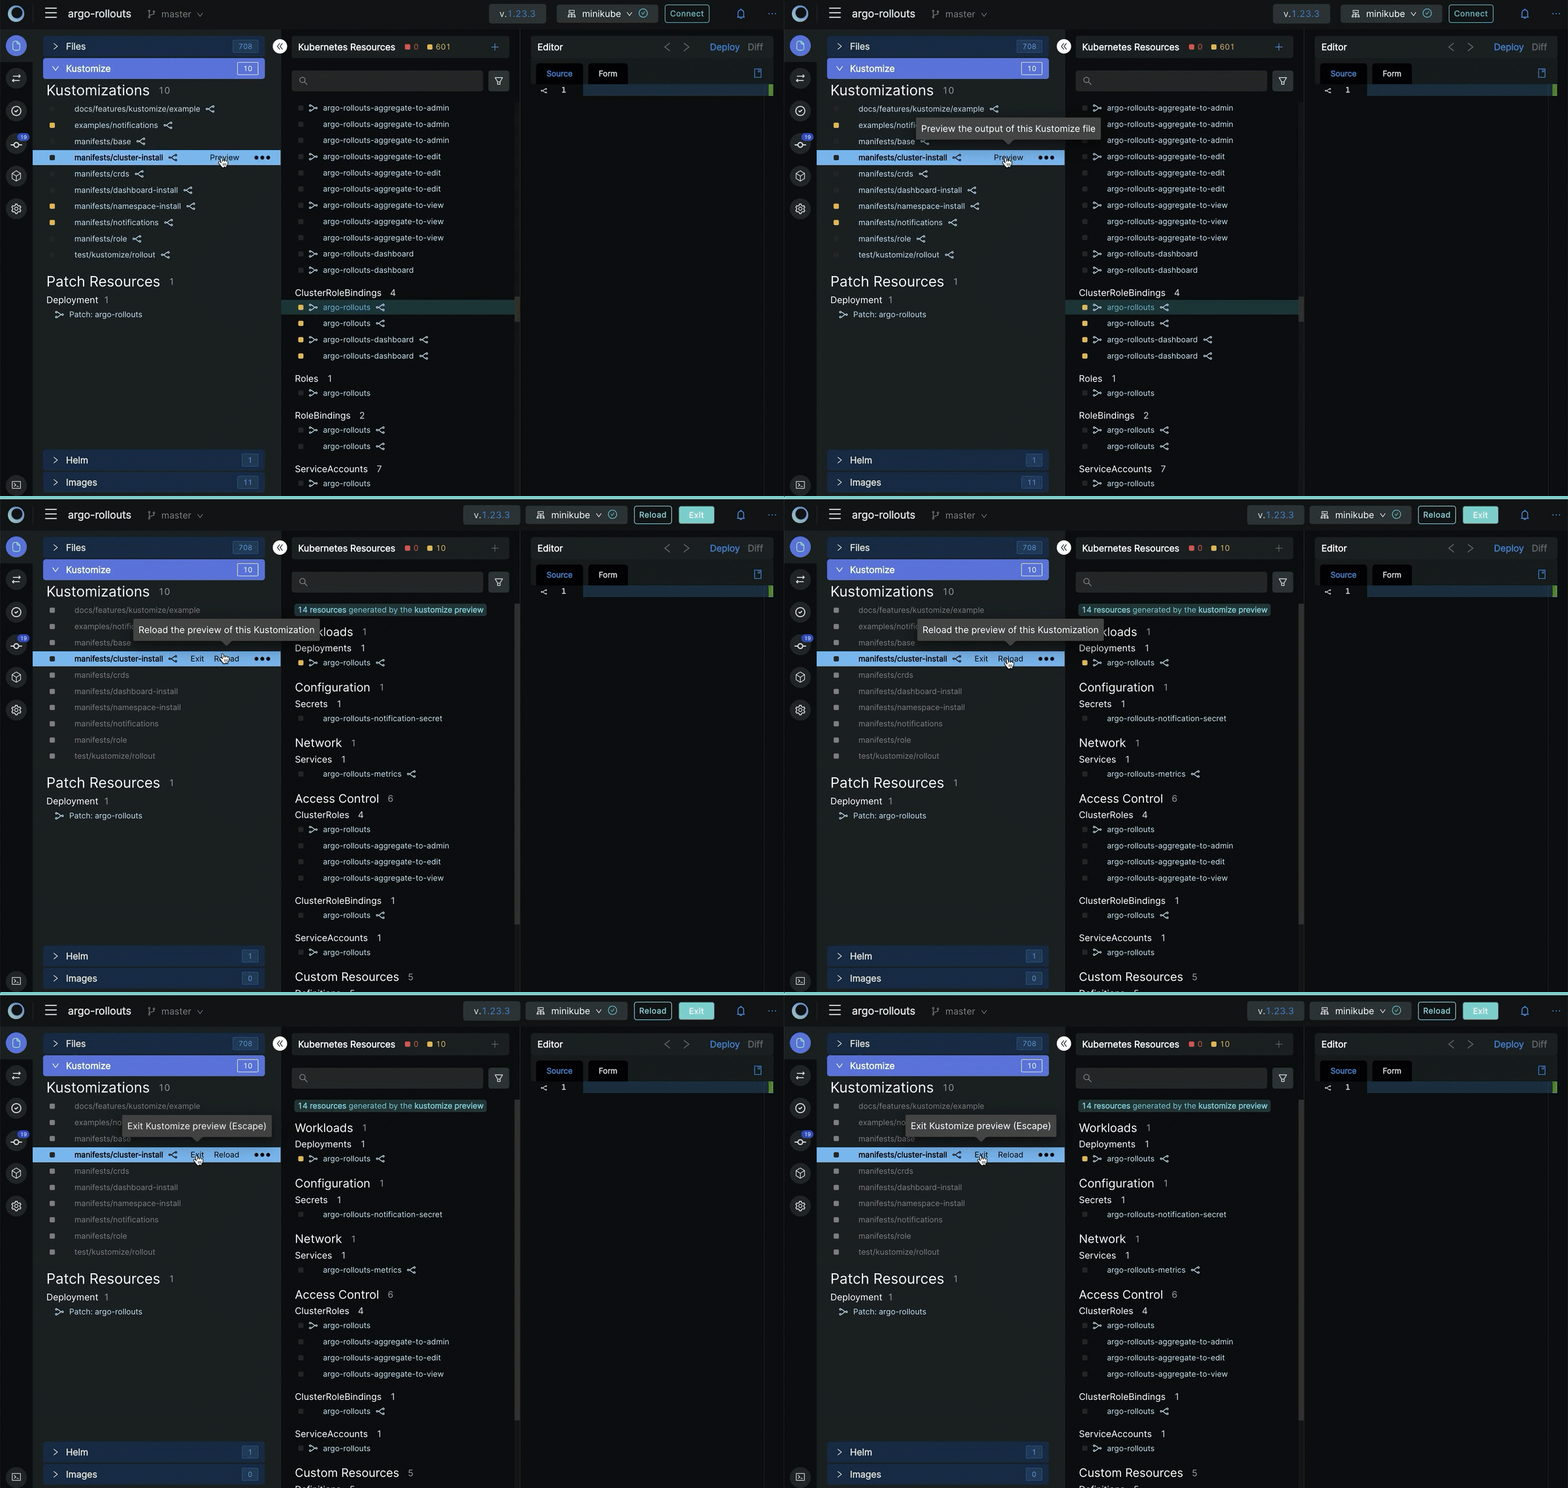
Do a quick dry-run, enabling you to navigate and debug the resources created by Kustomize or Helm. Apply them to the cluster when you are satisfied - read more about Kustomize and Helm.
Locate Source File Quickly and Find Dead-end Links
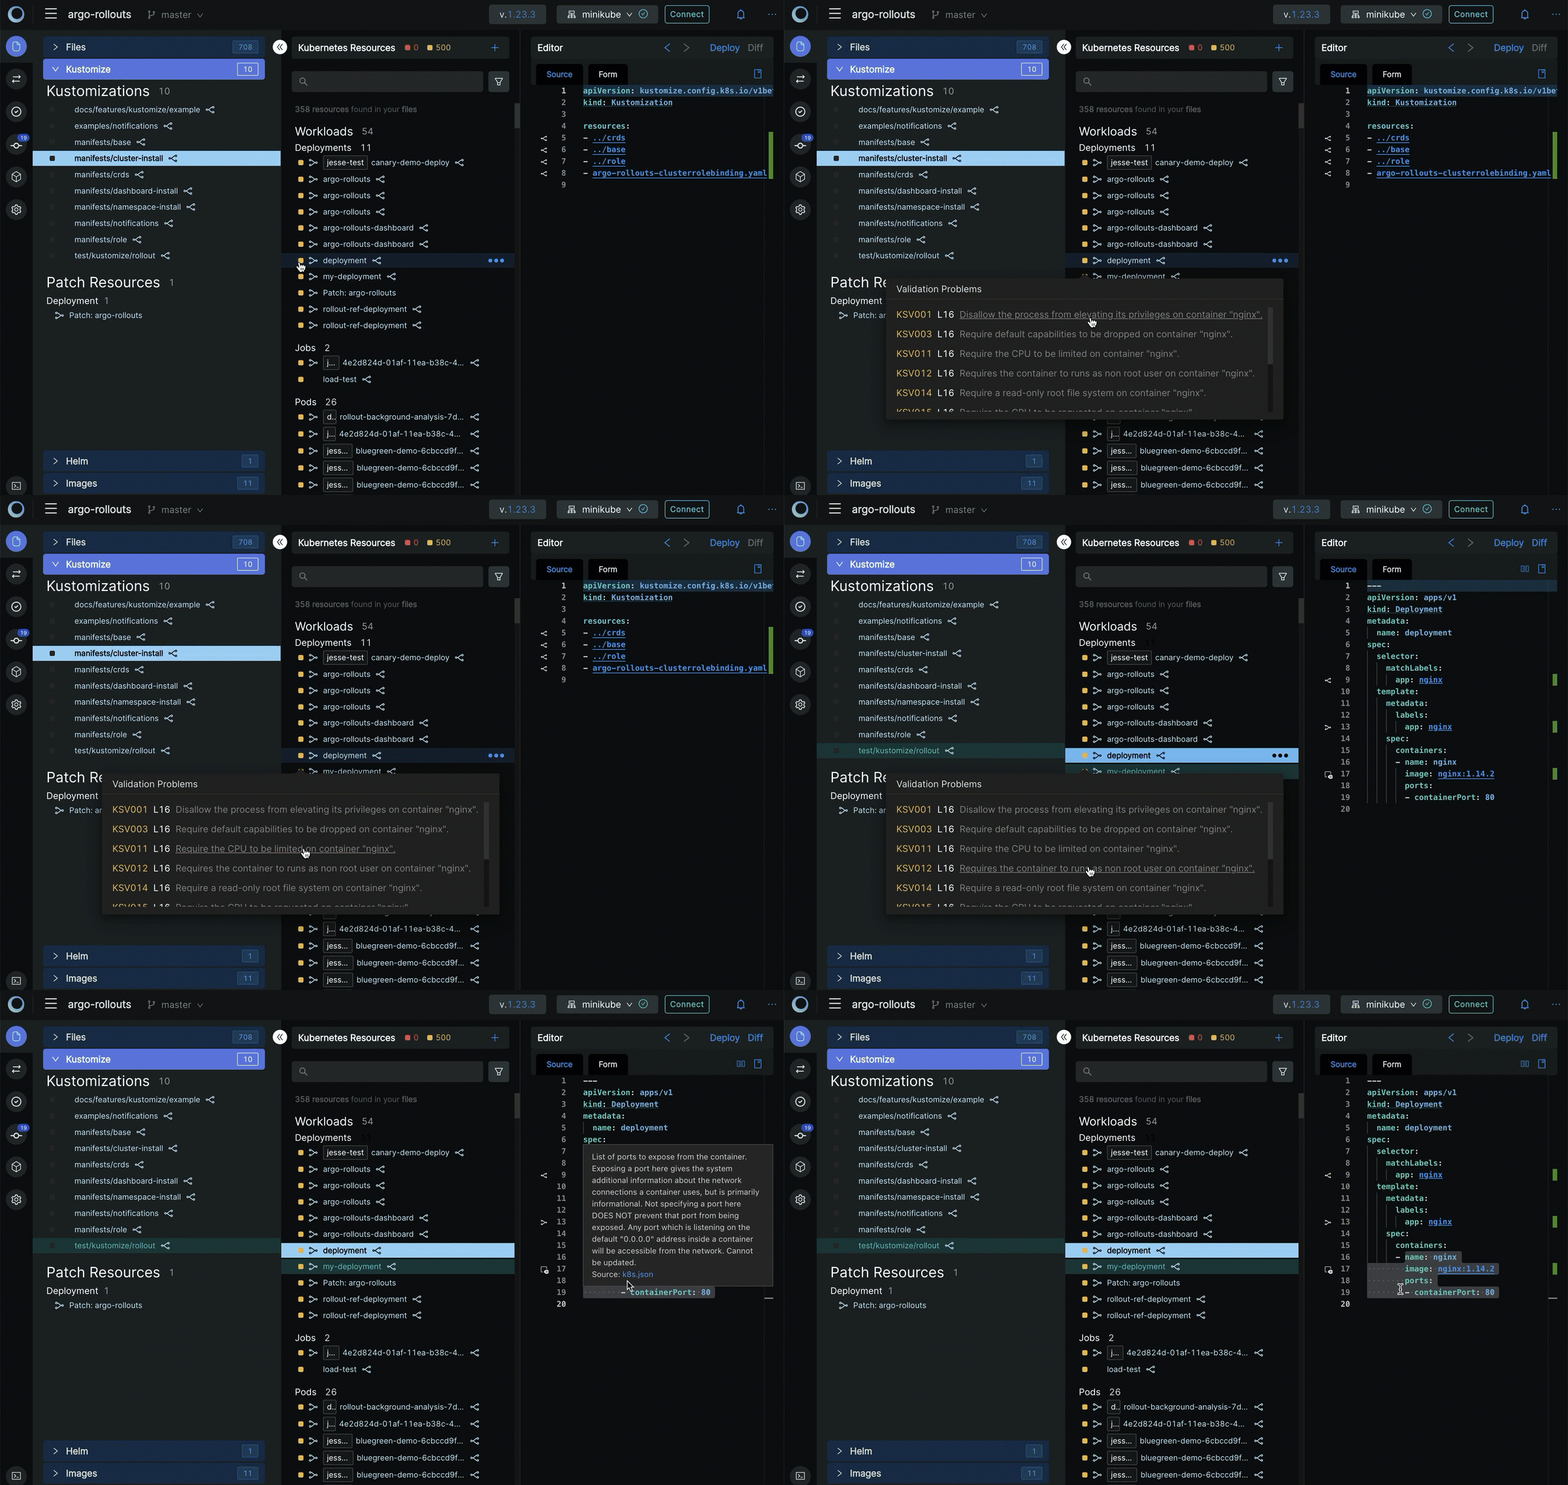
When you select a resource, Monokle Desktop will show which file it was defined in. A yellow warning triangle indicates that a resource is pointing to a link that does not exist.
Browse and Update Cluster Objects
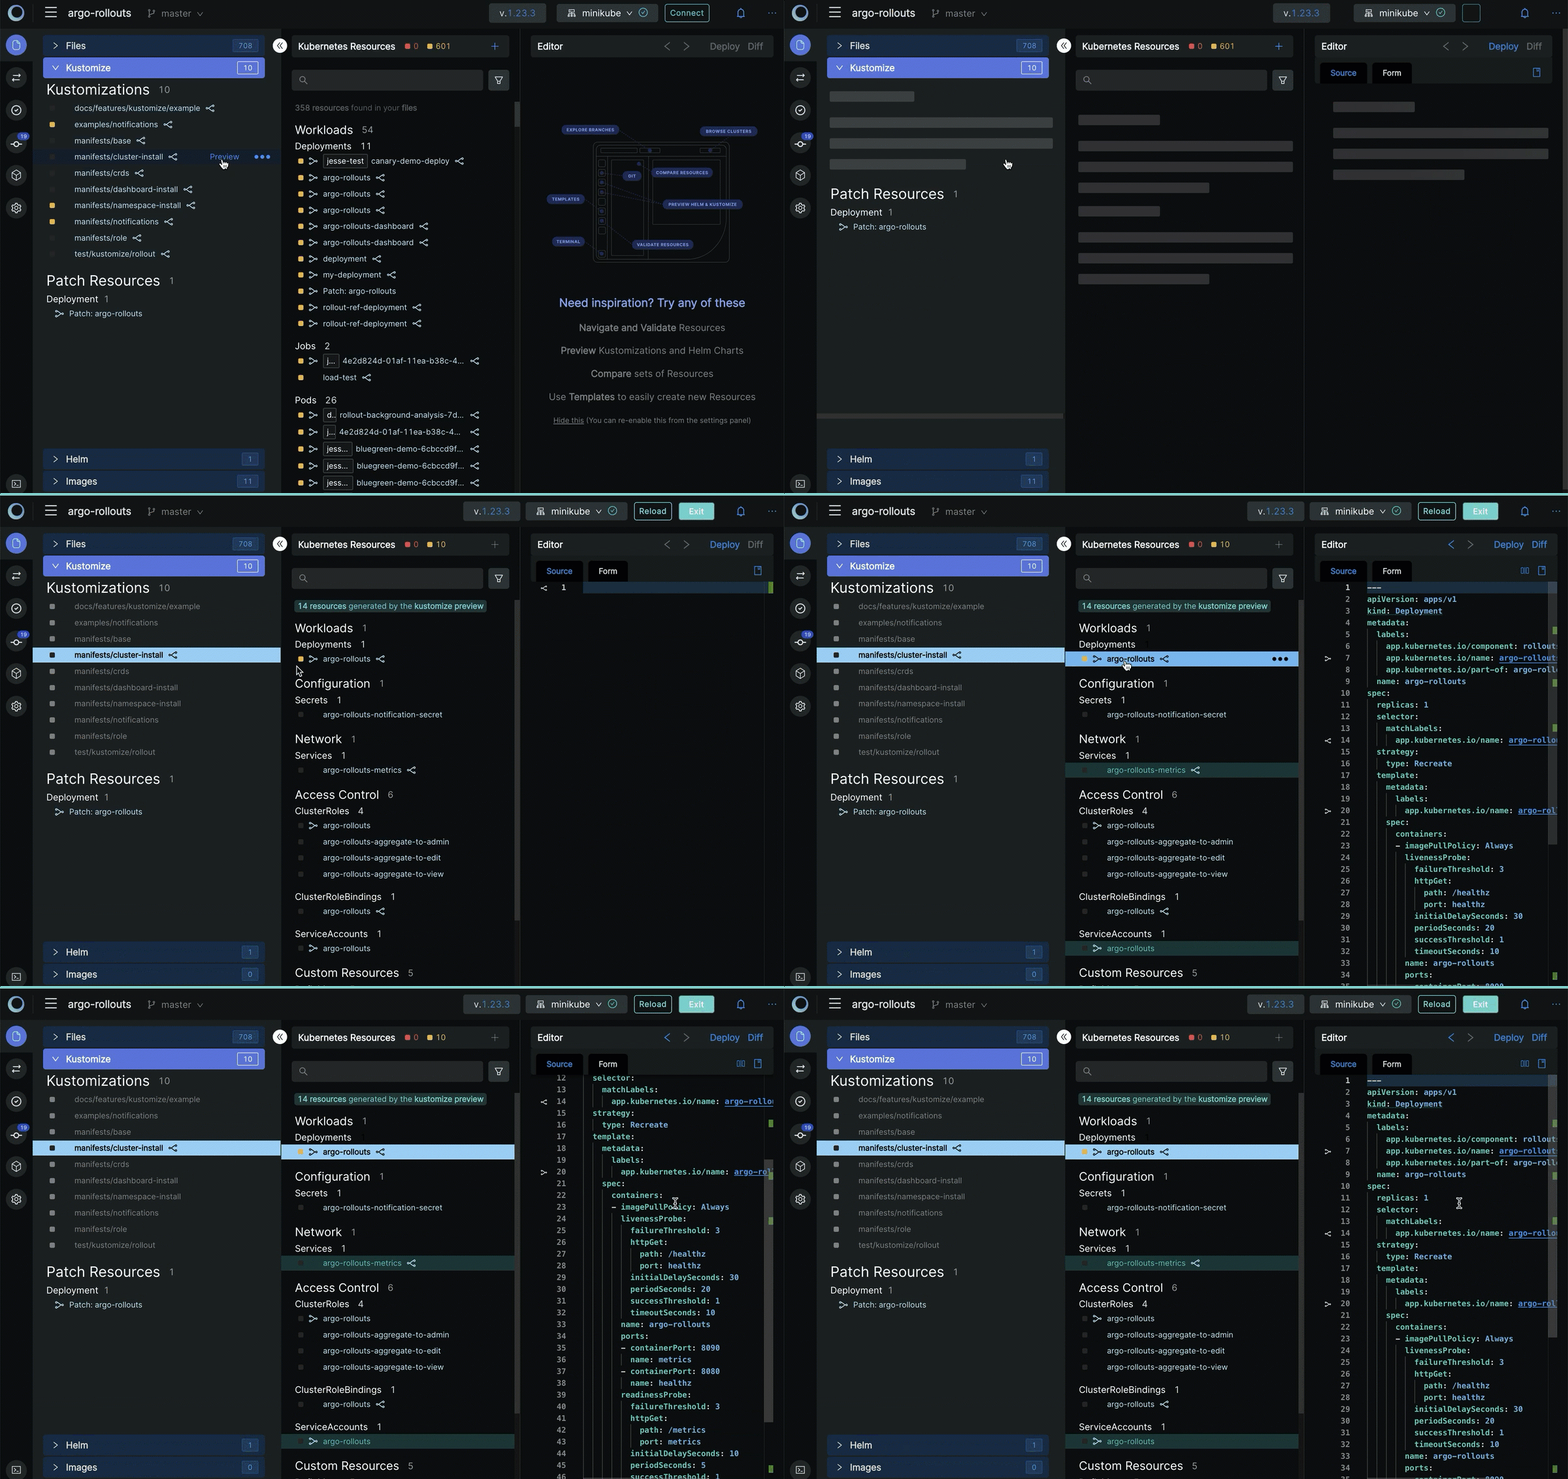
To browse a cluster instead of a repo, simply click the "Preview" button next to a file to import all objects from the cluster into Monokle Desktop - read more. If you need to make any immediate hot-fixes, simply modify the resource in the source editor and click the "Apply" button.
Manage Multiple Projects
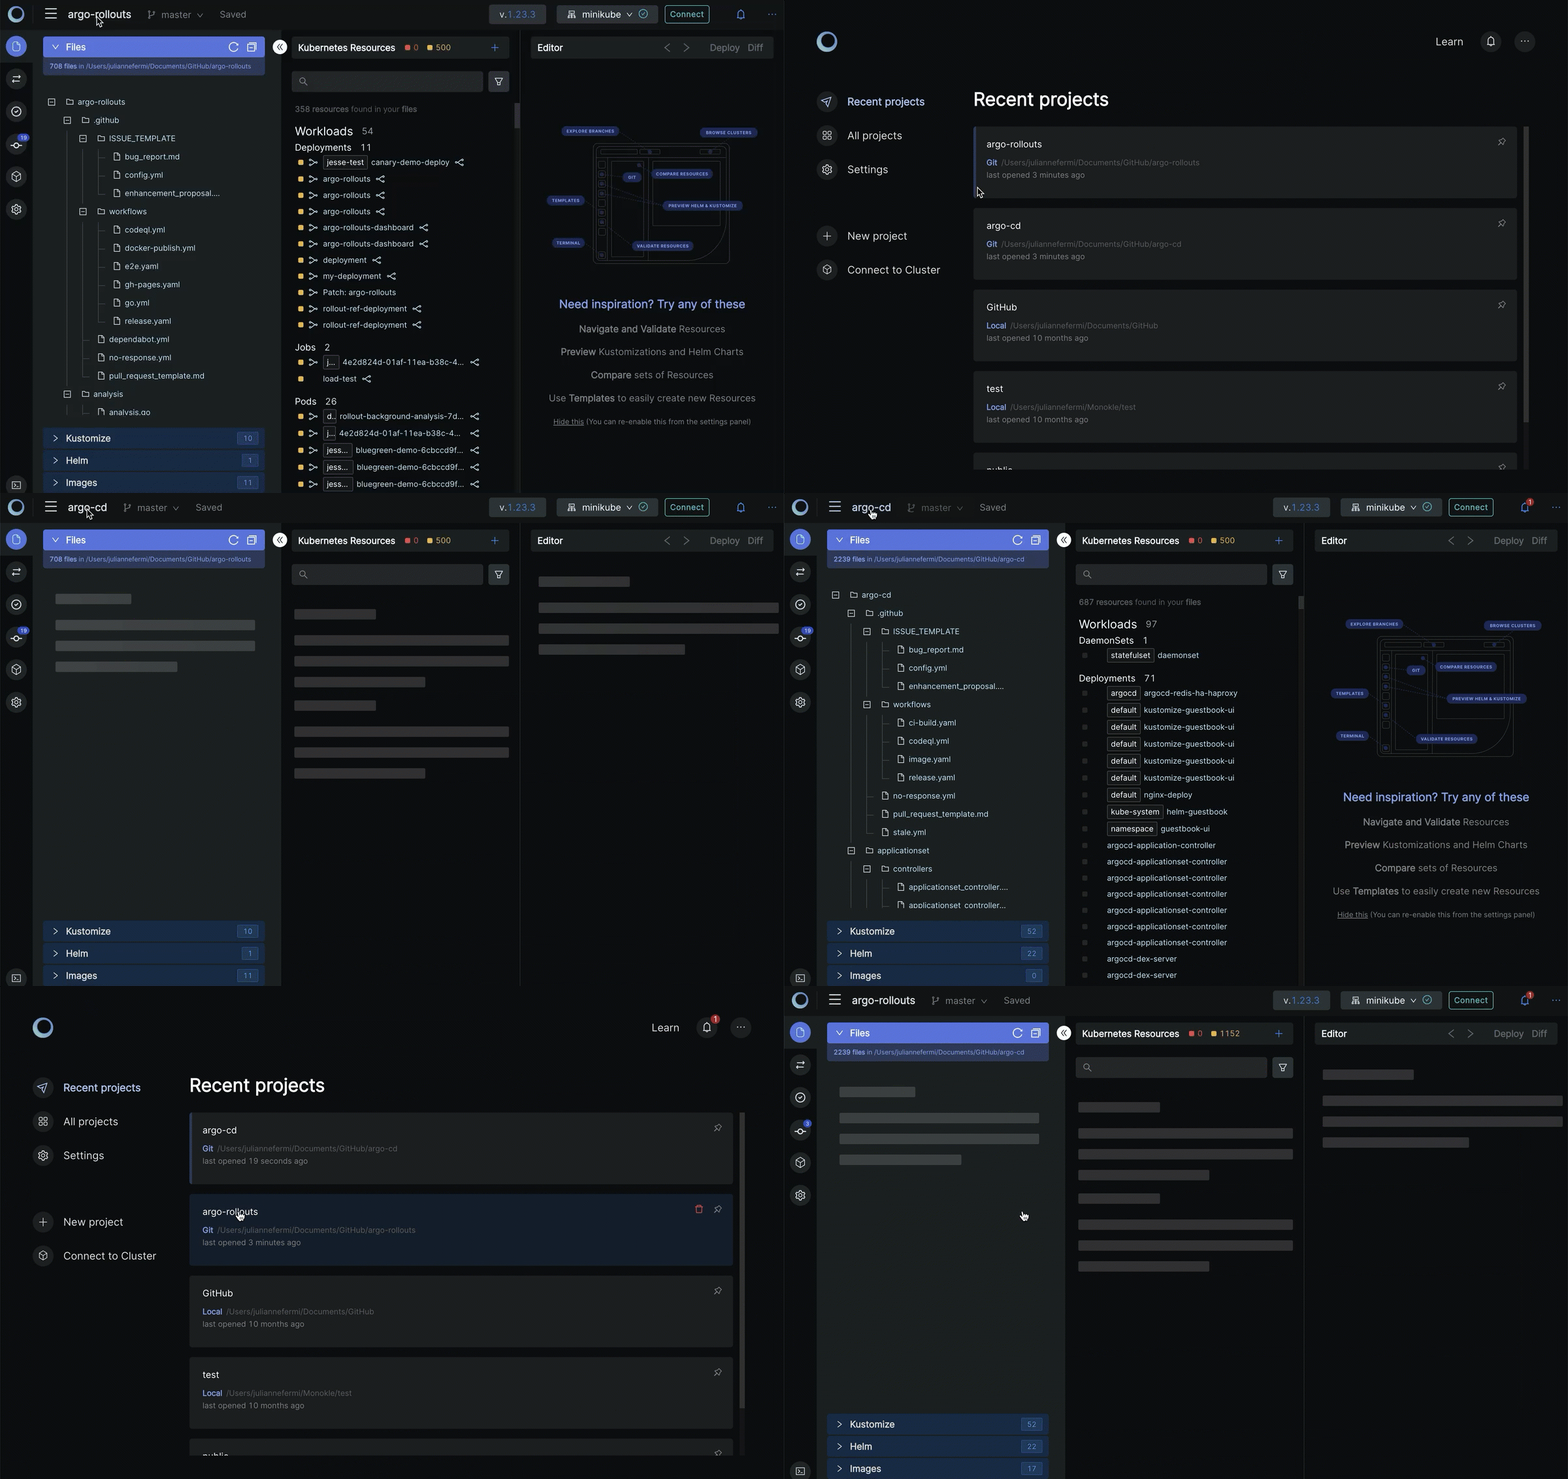
Easily switch in between projects to more efficiently work with multiple projects at the same time.
Compare Resources
The Editor contains a Compare Resources button in the left panel.
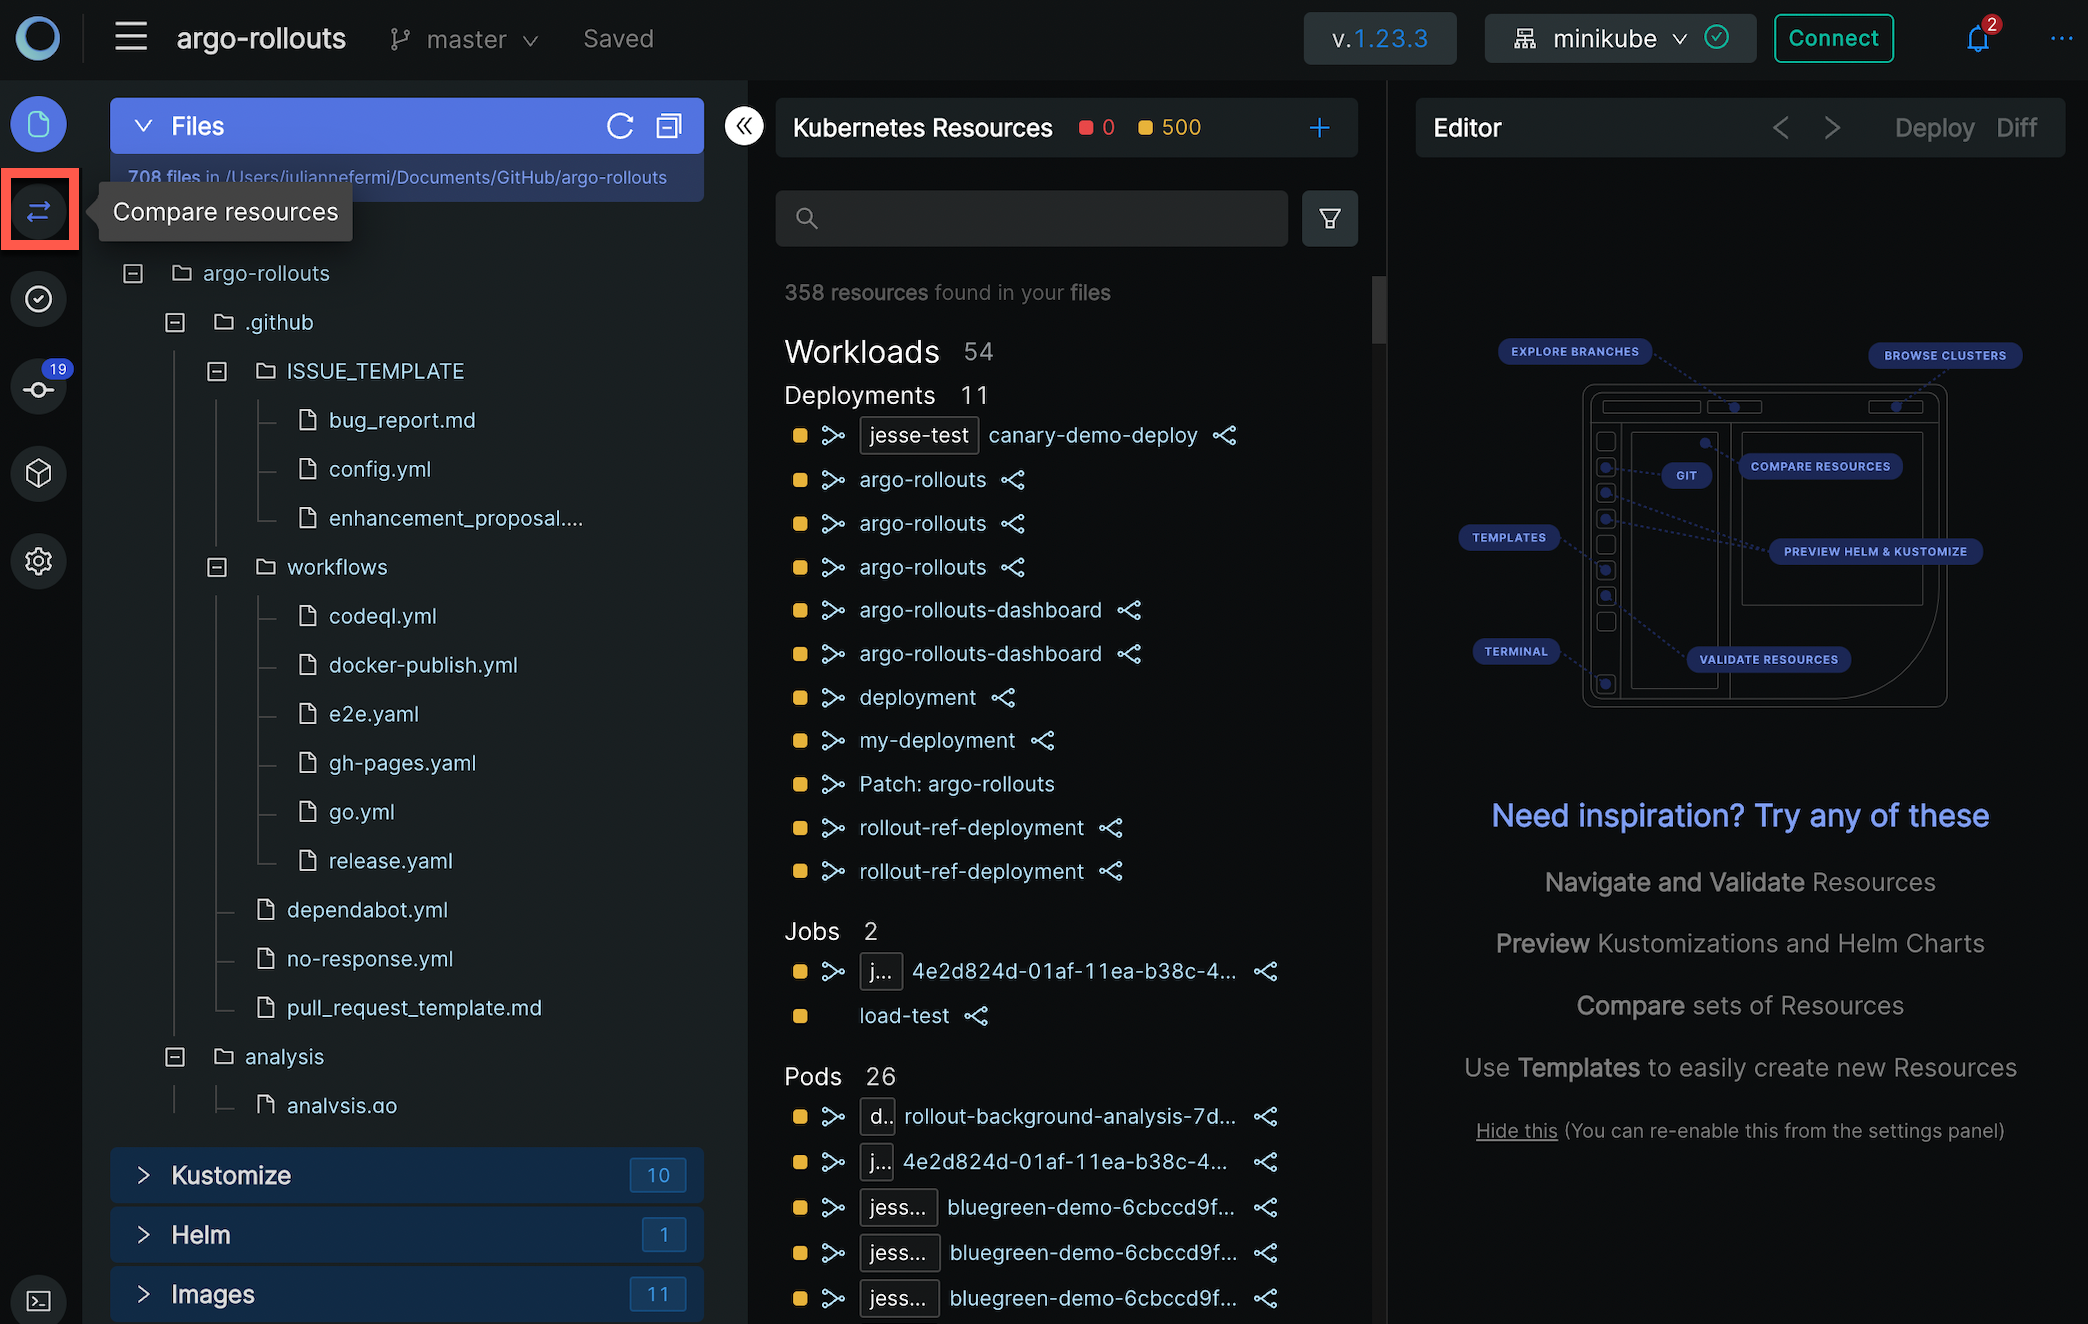
Selecting Compare Resources will open the Comparing Resources window:
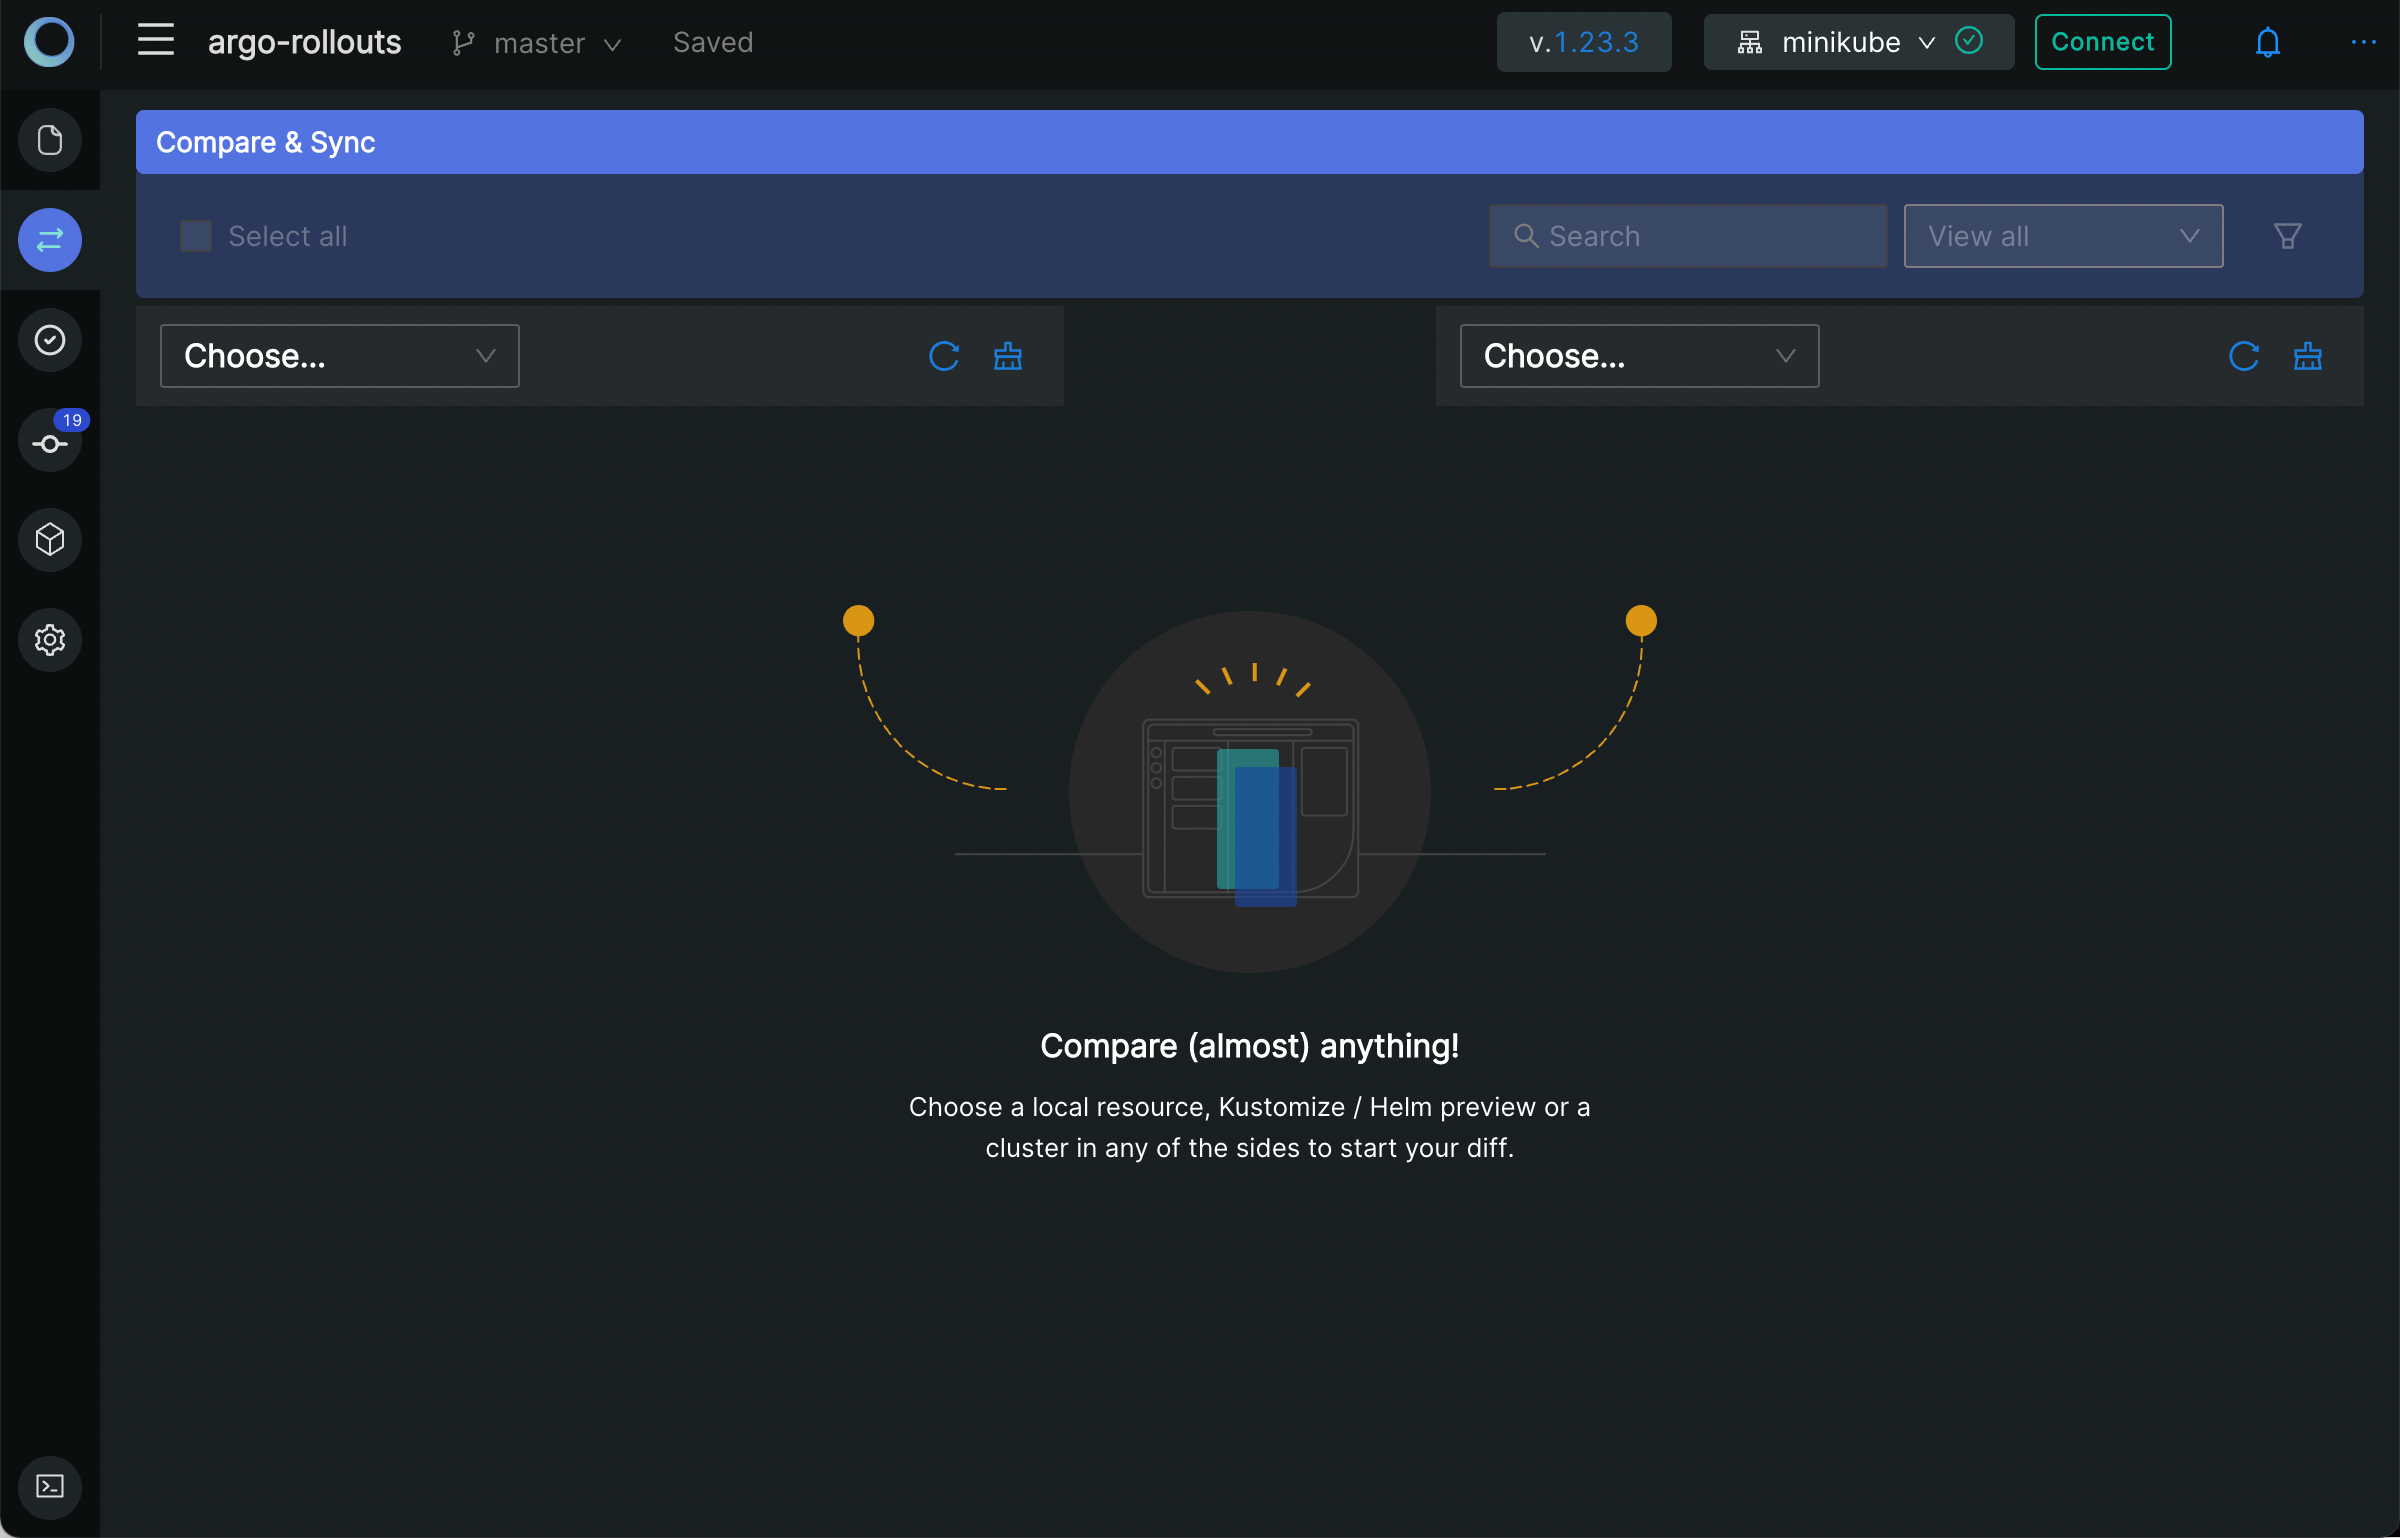
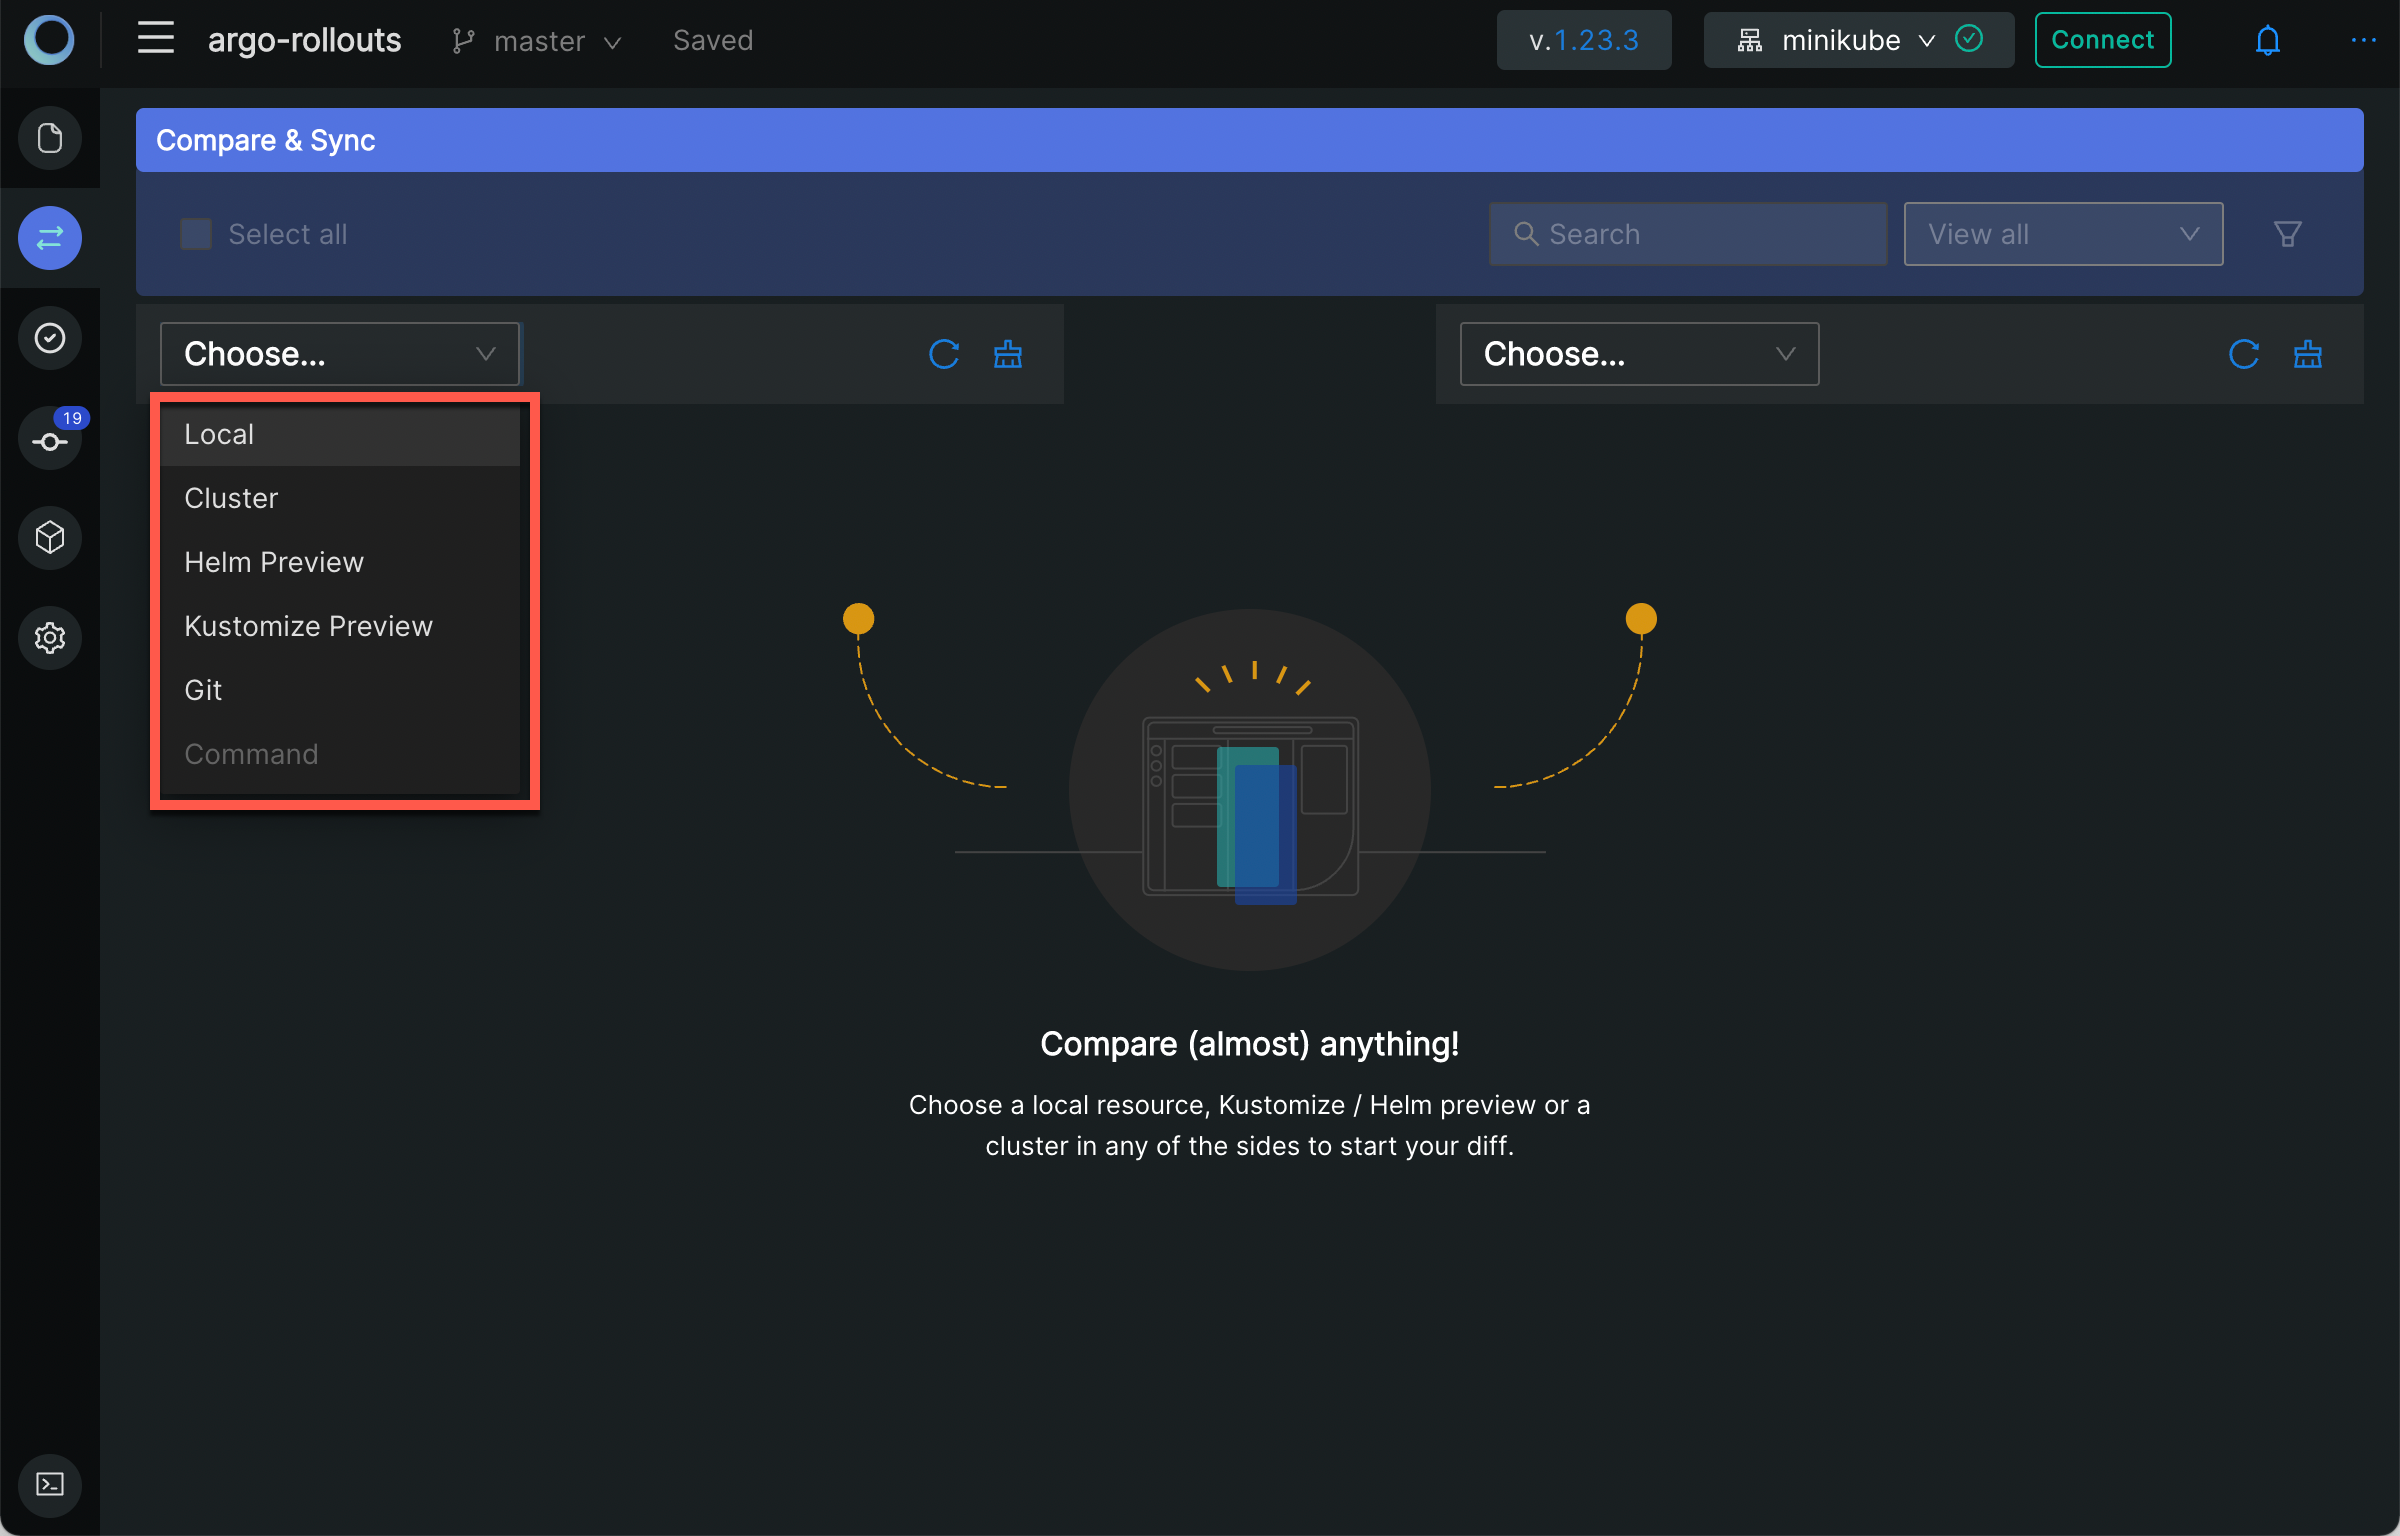
Almost anything that you work on in Monokle Desktop can be compared. Select from the drop down on the left side and the right side to do a compare of a local resource, a Kustomize or Helm preview or a cluster:
Create a Resource from a Template
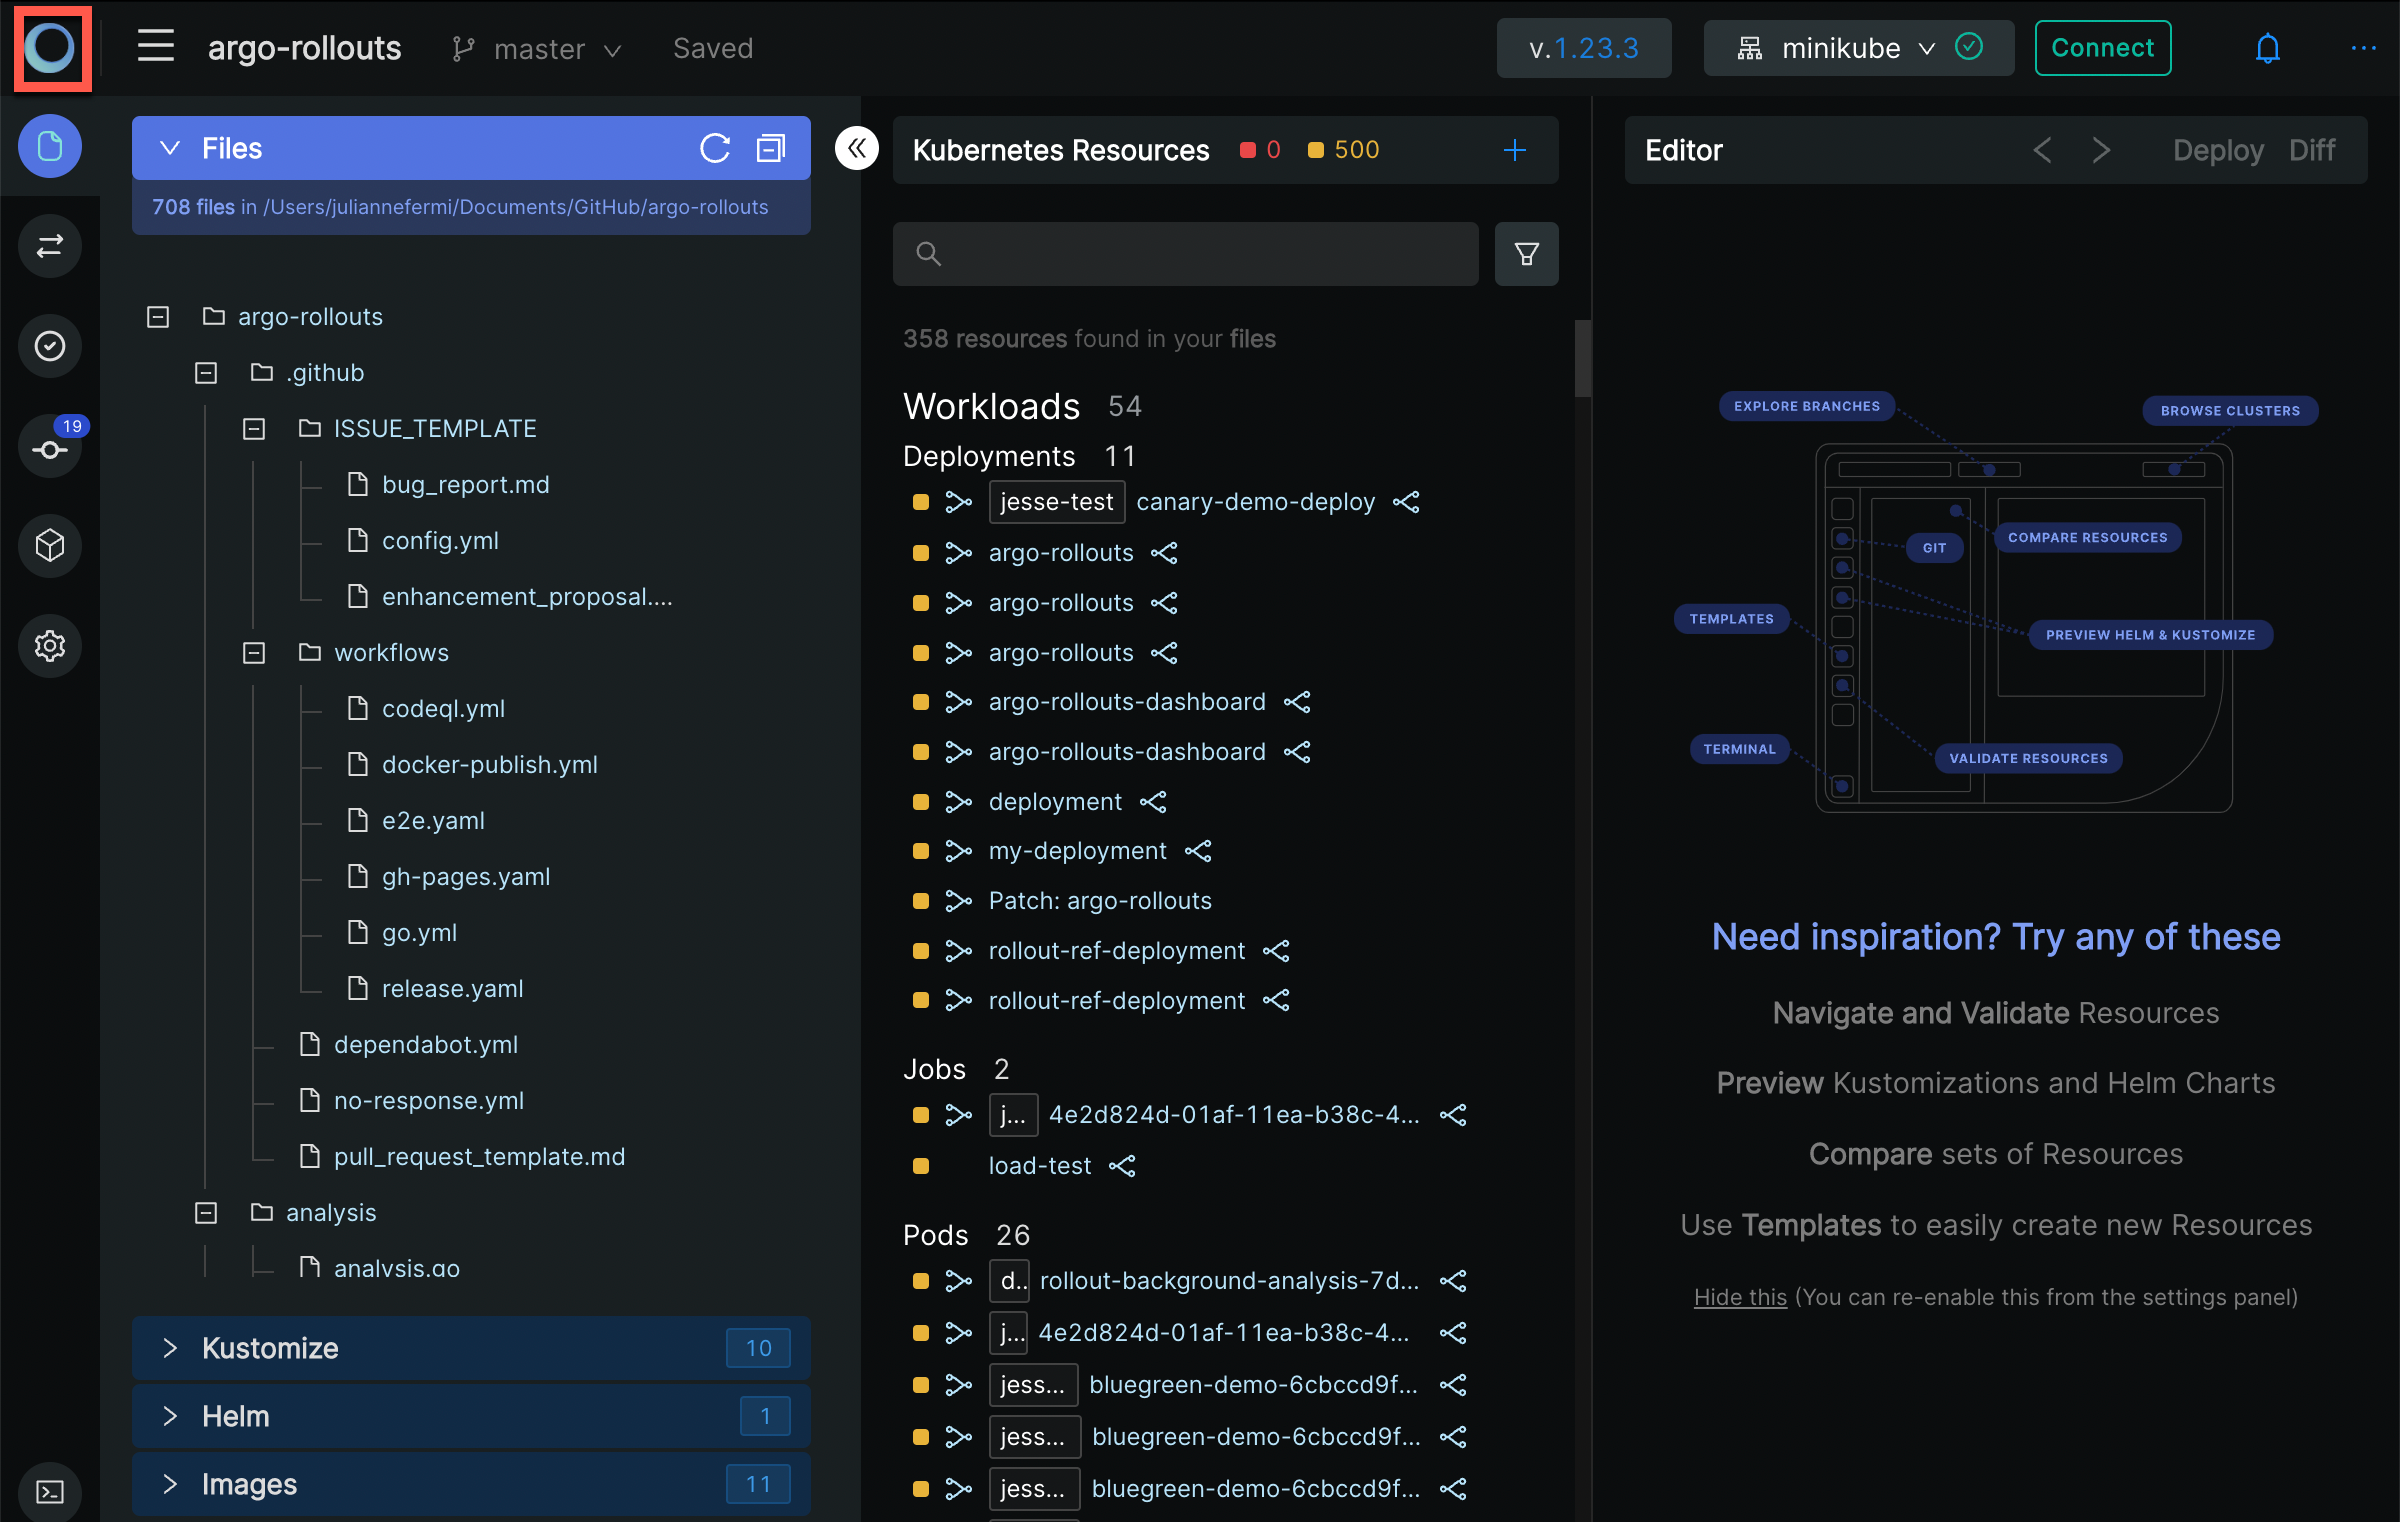
Return to the Monokle home screen by clicking on the Monokle icon at the top left:
Then select "New project":
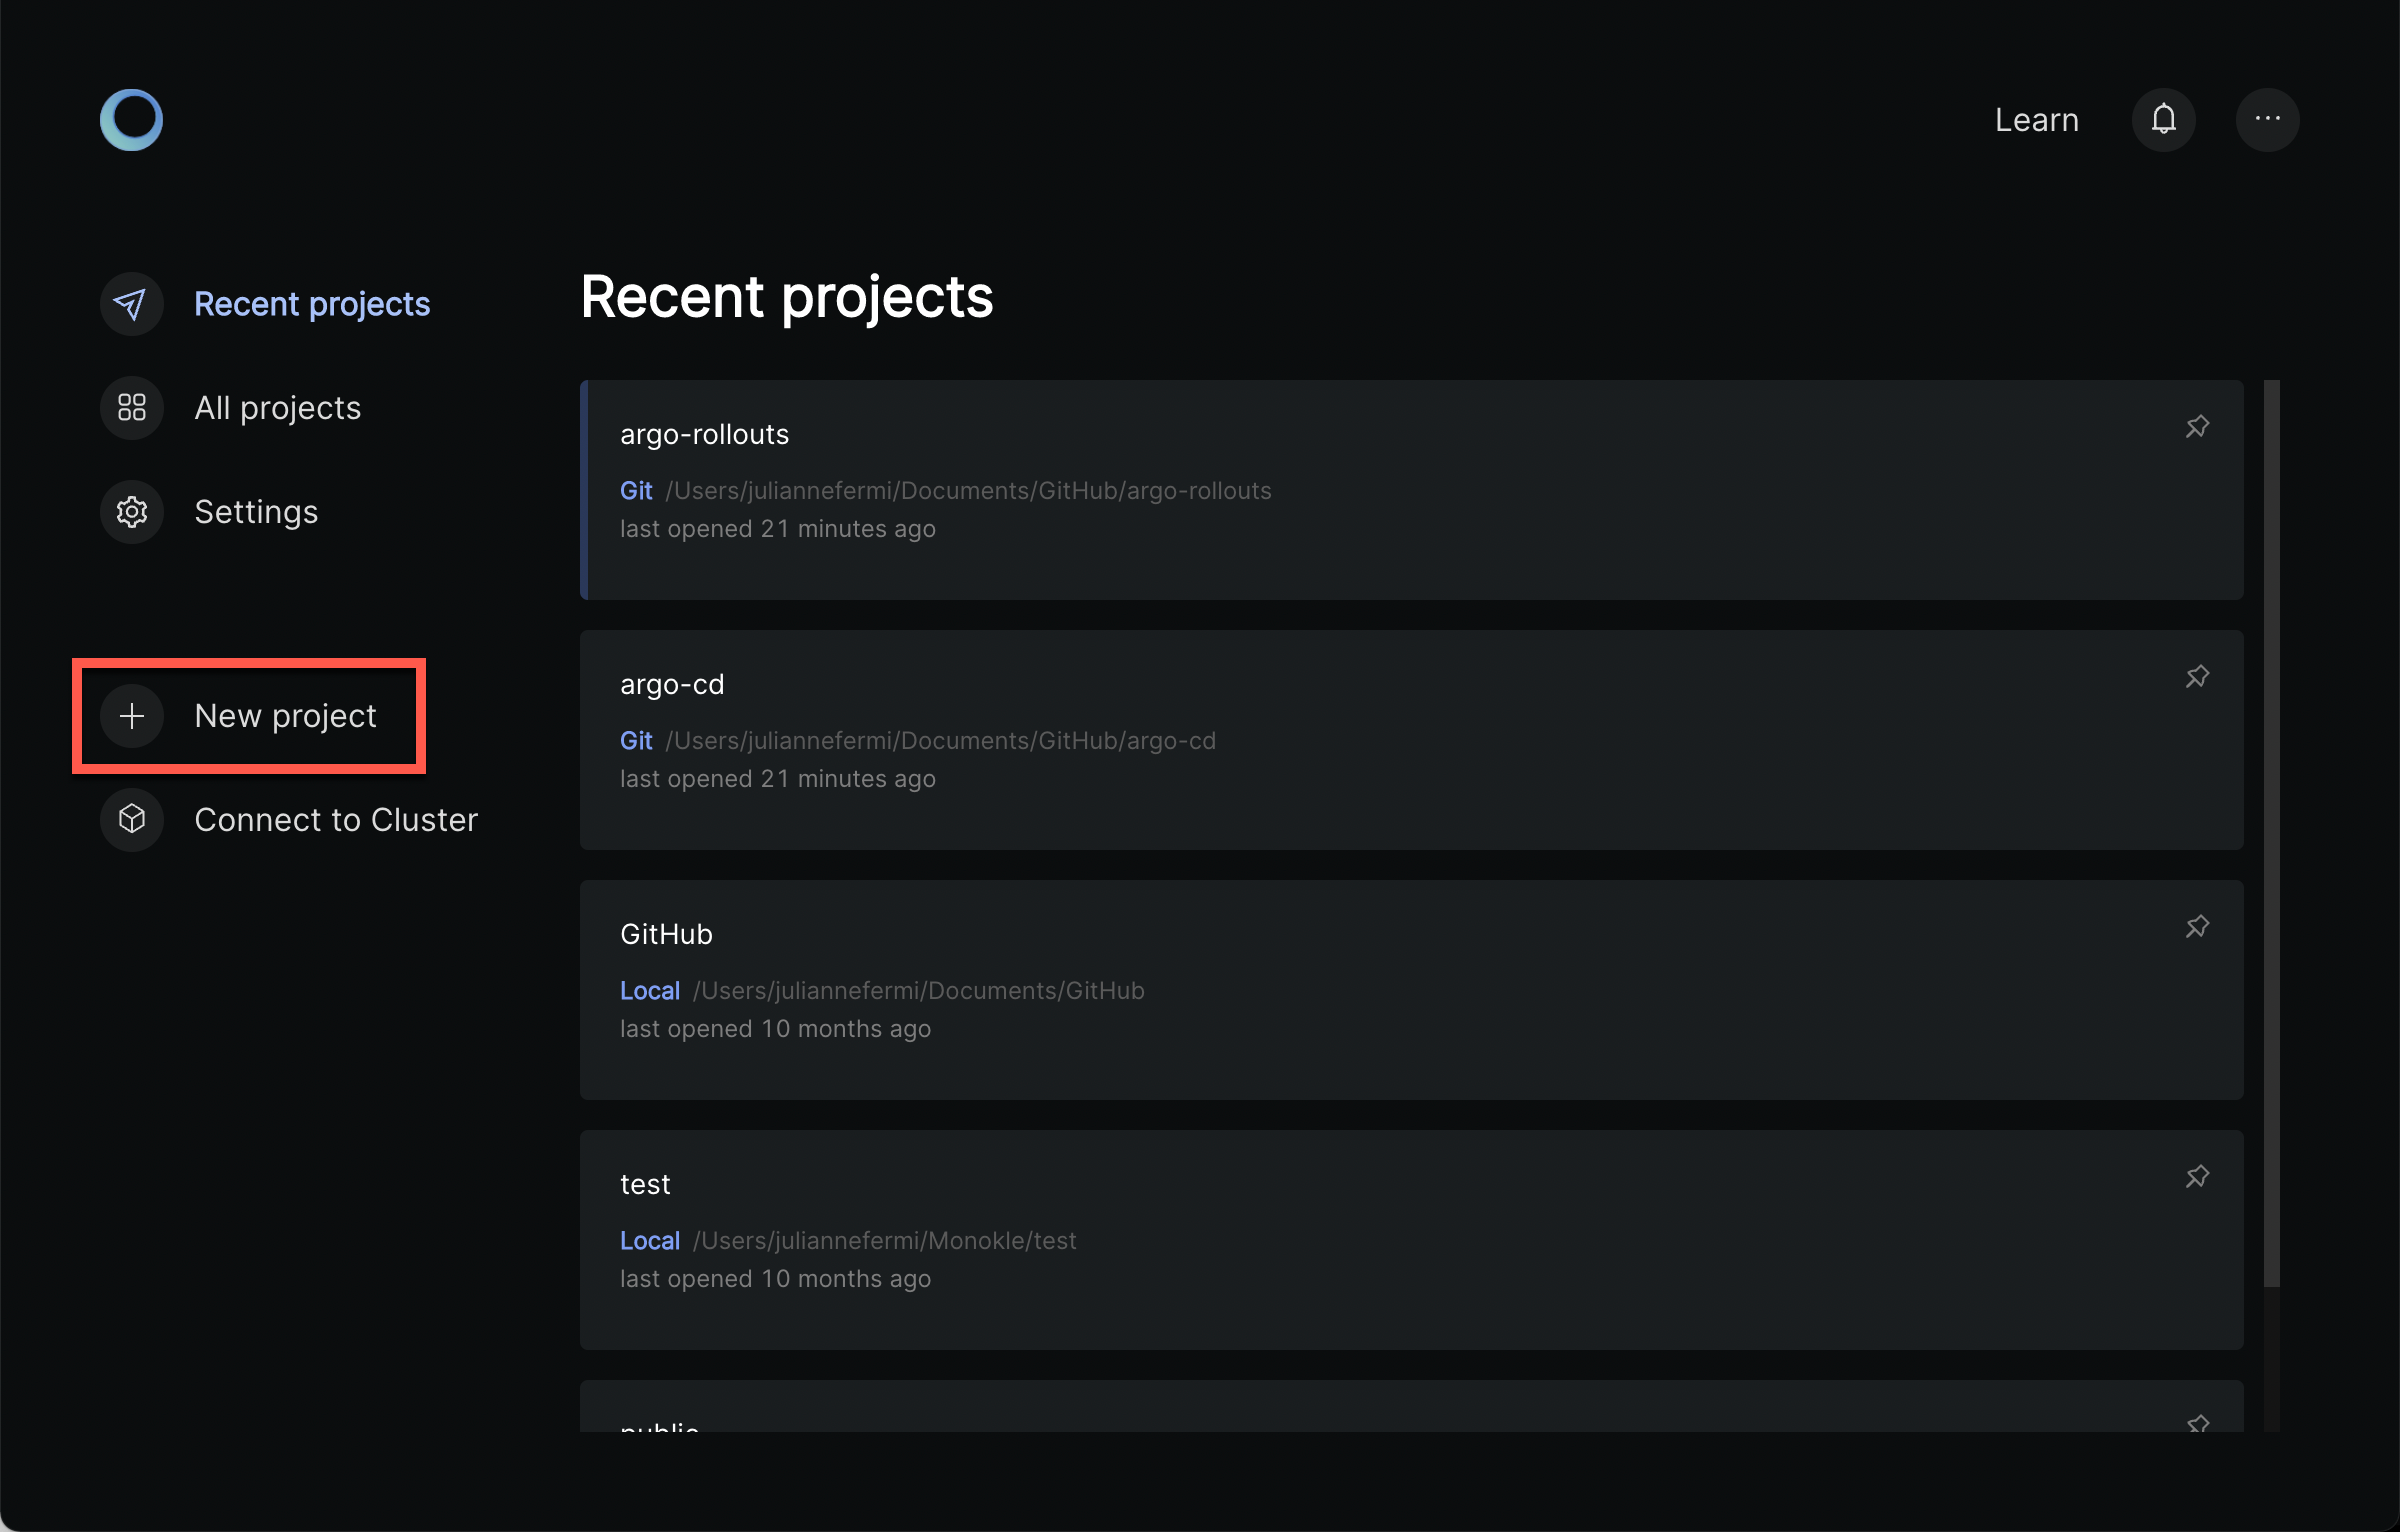
Monokle Desktop allows the use of templates to start a new project via the Start from a template option:
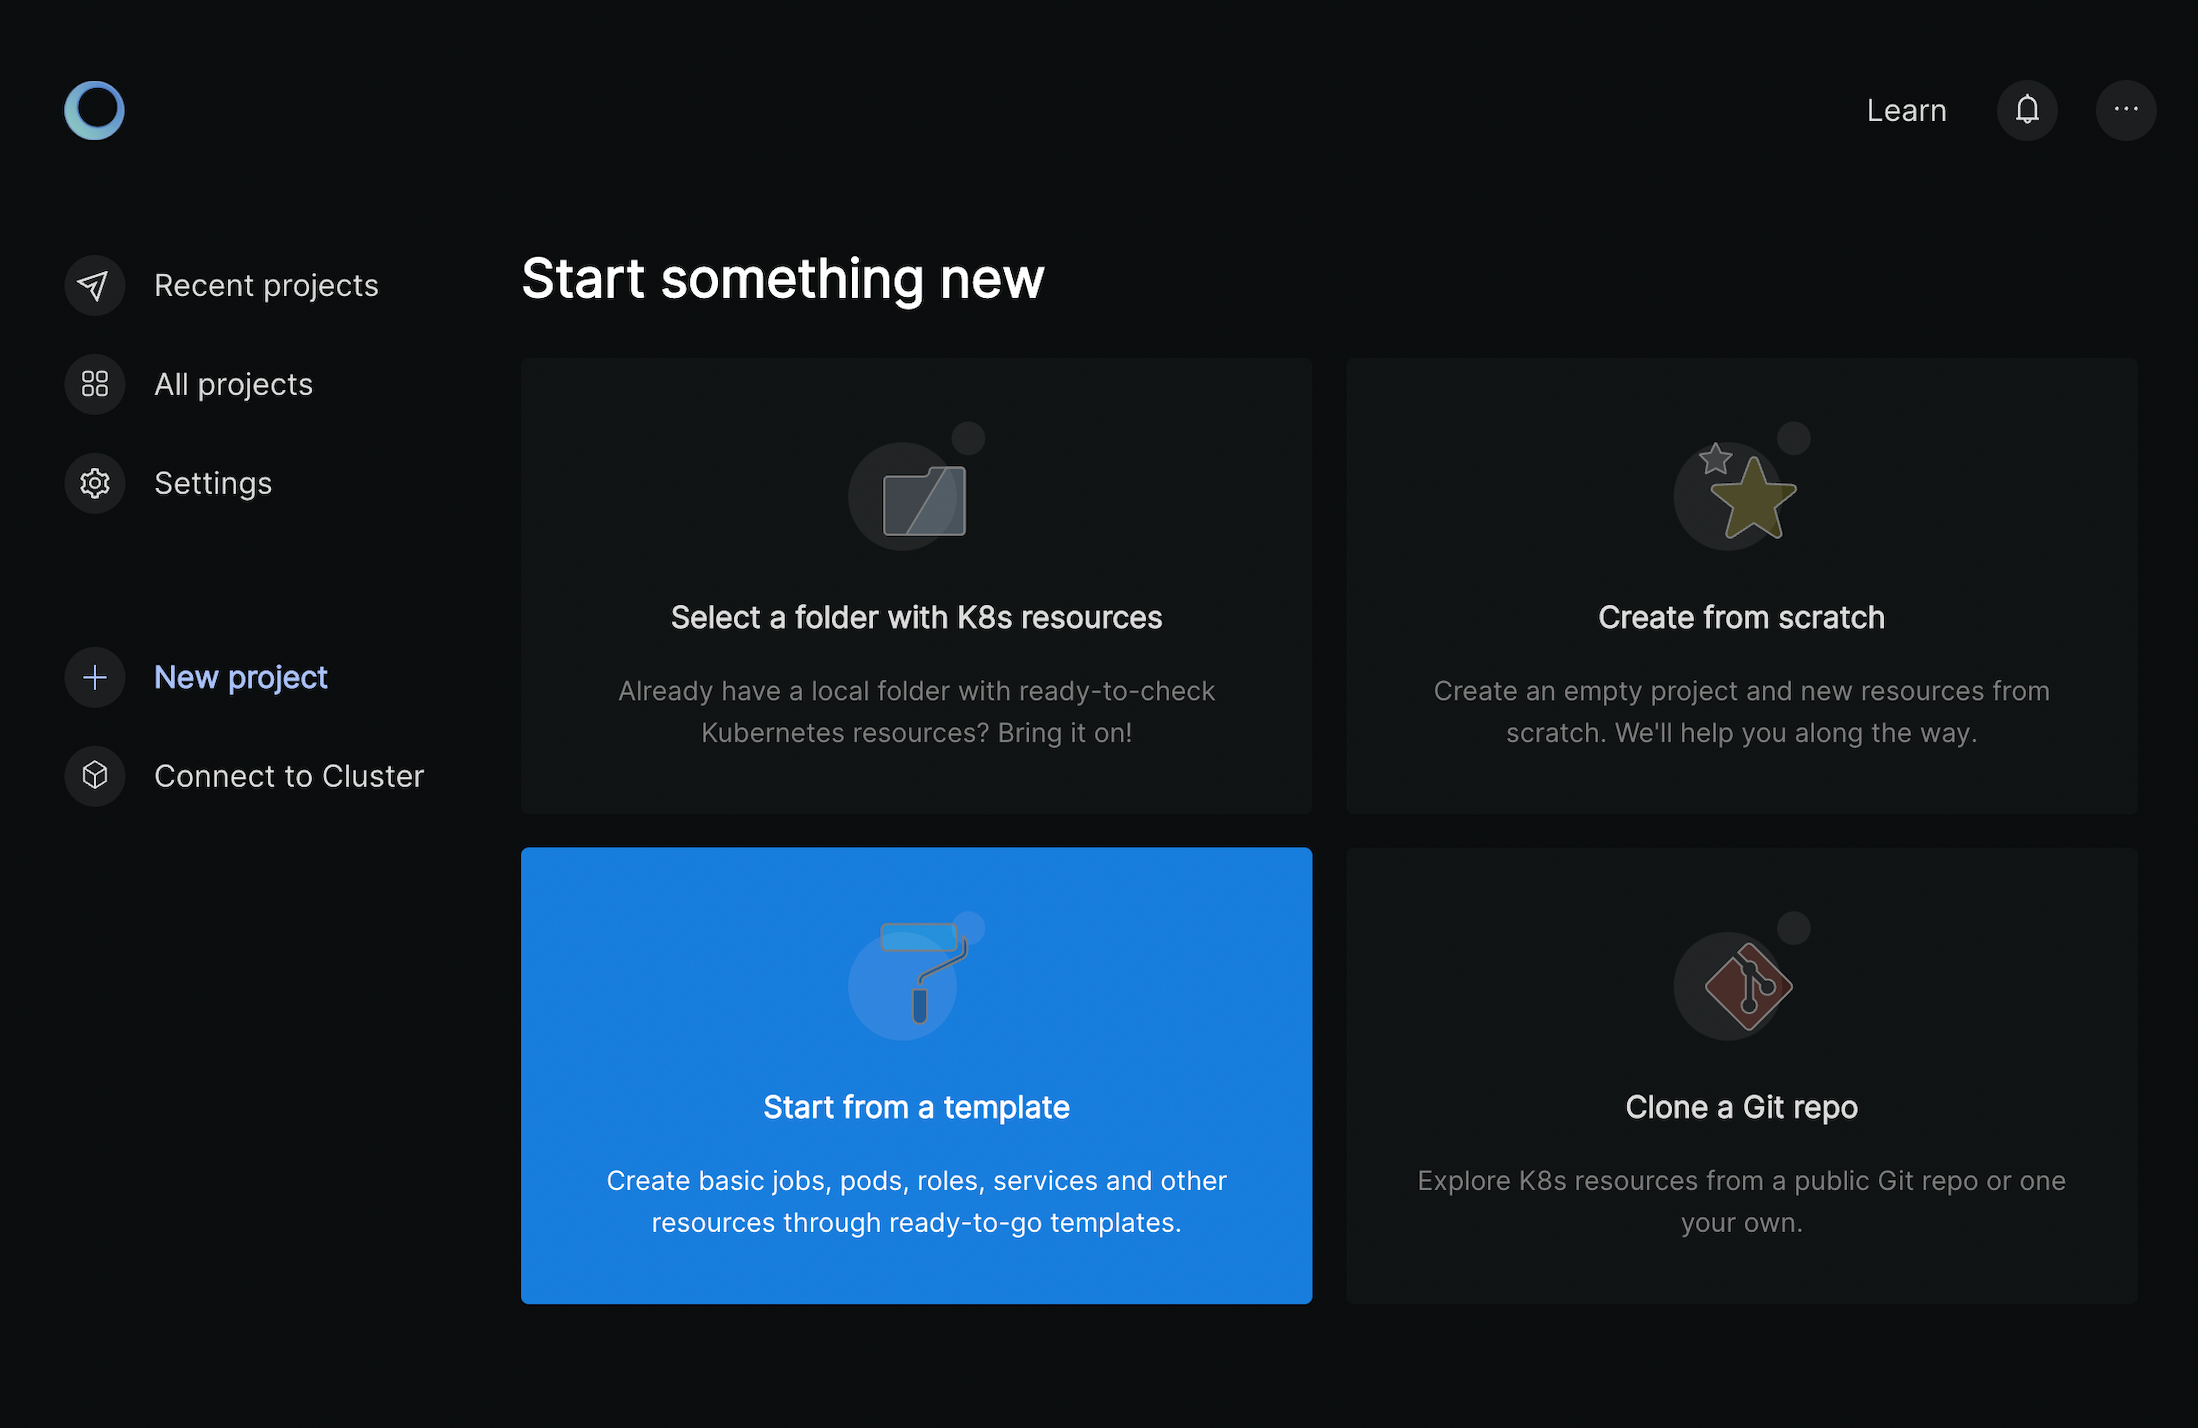
The Create a Project from a Template dialog appears:
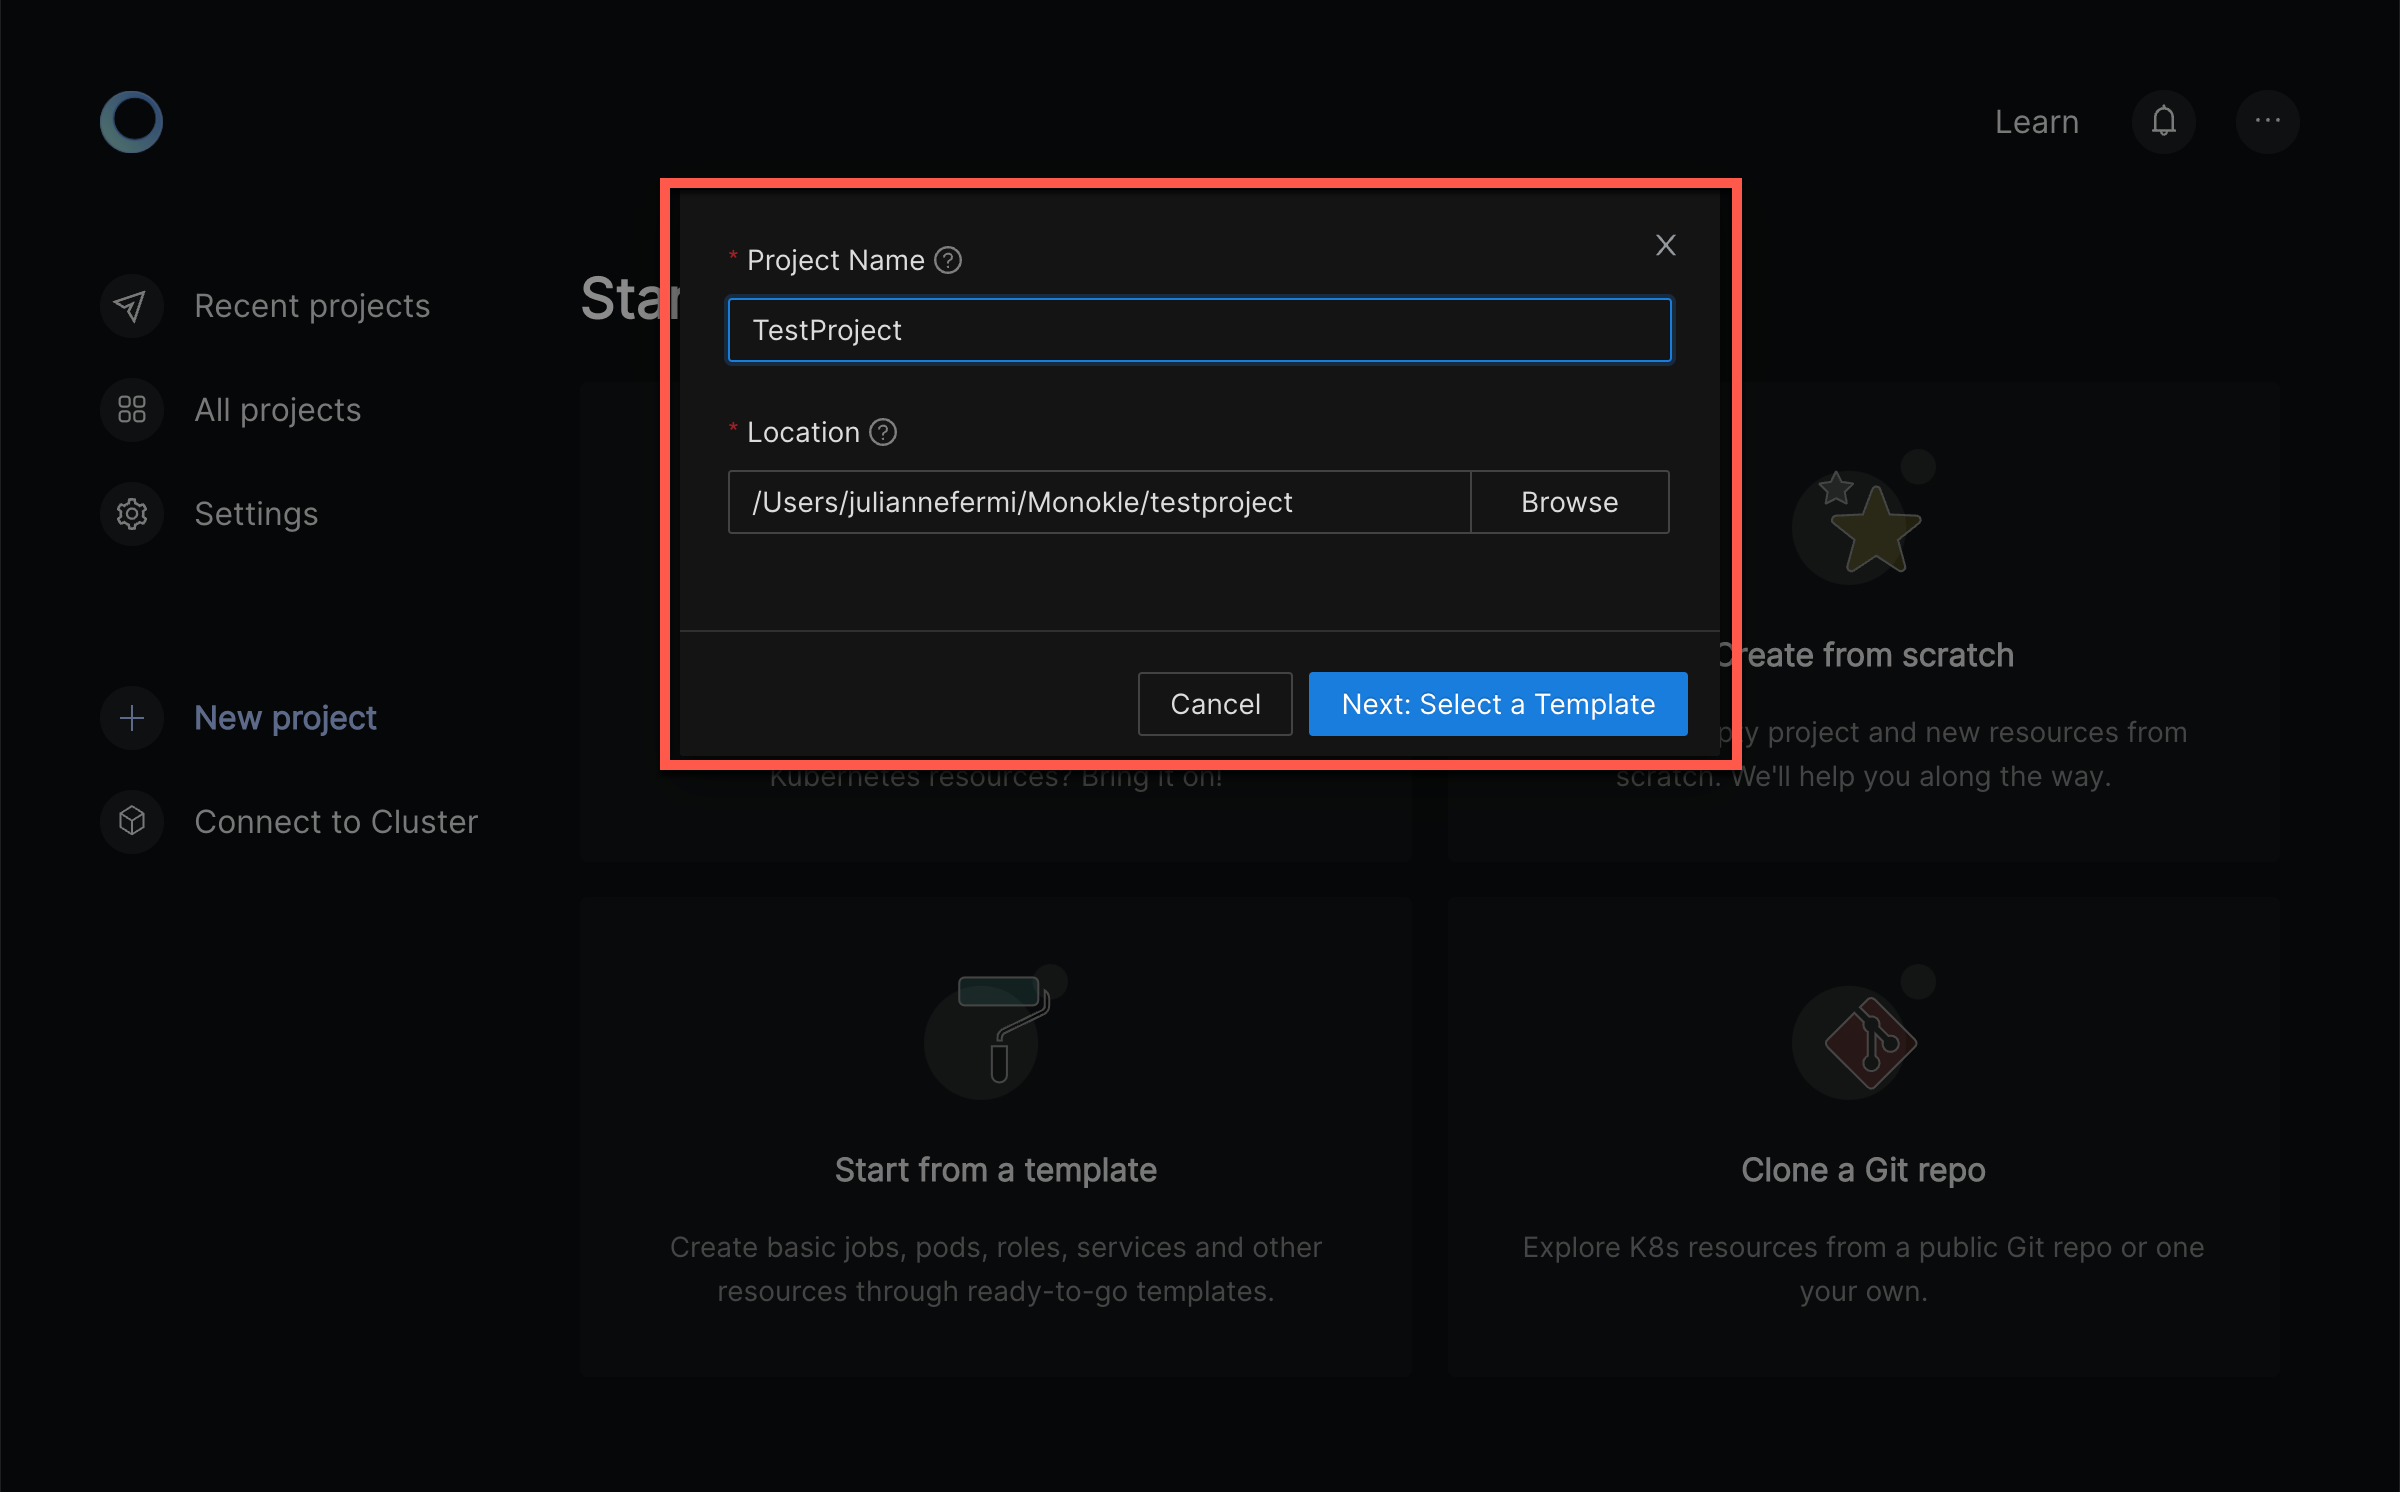
Name your project, select its location and click Next: Select a Template.
Monokle Desktop includes a default set of templates which are installed automatically when starting Monokle Desktop for the first time and available in the Templates Explorer when working with your Monokle Desktop projects:
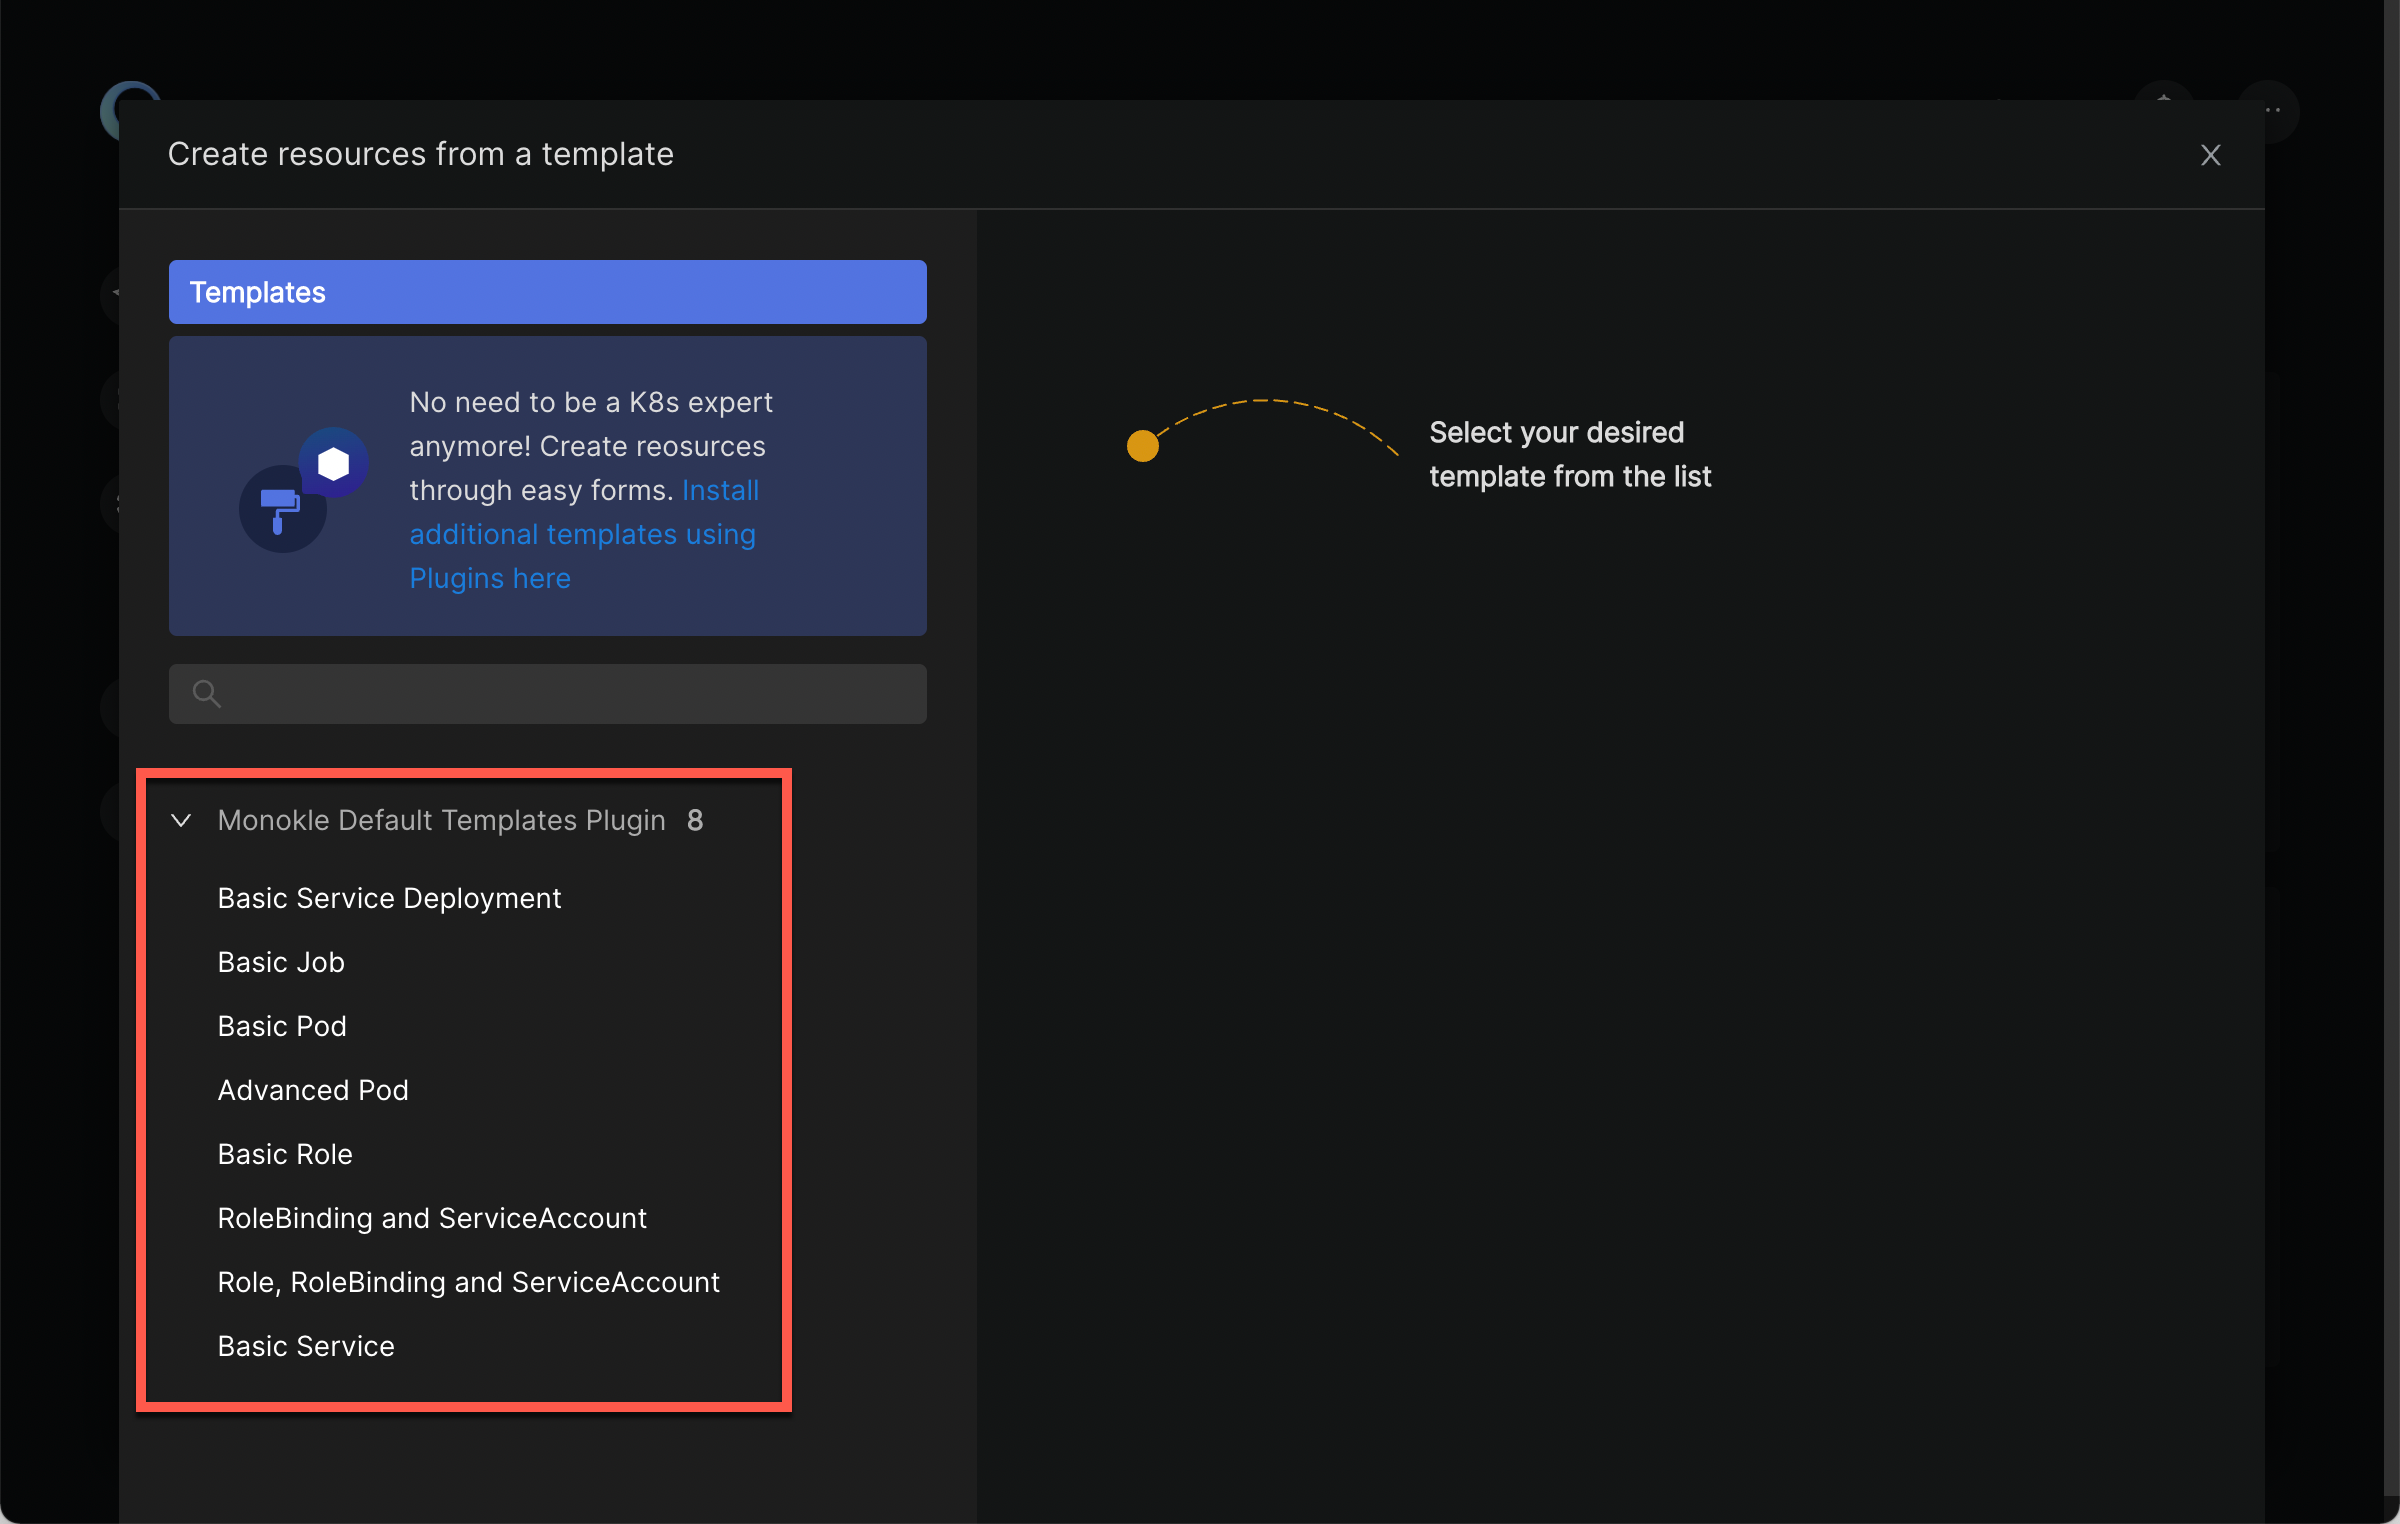
Check out the Monokle Desktop Default Templates Plugin repository to see the complete list of templates that are included along with their corresponding schemas and manifests.